

A Pizzeria Owner's Guide to Walk In Cooler Sizing
Picking the right size for your walk-in cooler is one of those decisions that will quietly make or break your pizzeria. It’s a direct line to your food costs, how smoothly your kitchen runs from the cooler to the pizza prep tables, and ultimately, your profit margins.
If you go too small, you're setting yourself up for cramped, chaotic conditions and inevitable food waste. But go too big, and you're just throwing money away on unnecessarily high energy bills. The sweet spot is finding that perfect match between your storage capacity and what your kitchen actually needs to operate.
Why Precise Cooler Sizing Is Your Pizzeria's Secret Ingredient

Your walk-in cooler is so much more than a cold box; it’s the financial and operational heart of your entire pizzeria. I can't stress this enough: getting the dimensions right from day one is non-negotiable for long-term success. Every critical process, from bulk dough fermentation to ensuring your mozzarella is perfectly fresh for the pizza prep table, depends on having enough properly organized cold storage.
Just picture a Friday night rush. Your team is flying, pulling ingredients for the pizza prep line. If the cooler is too small, that seamless flow grinds to a halt. I’ve seen it happen time and time again. Staff wastes precious seconds trying to navigate around precariously stacked boxes of cheese and produce, driving up ticket times and creating a stressful, chaotic work environment. This is a common story for owners who undersized their units, often leading to damaged inventory and thousands in food waste.
The Financial Stakes of Sizing
On the flip side, a walk-in that’s way too big becomes a constant financial drain. Every single cubic foot of empty space is space you're paying to cool, month after month, driving up your utility bills for no reason.
An oversized refrigeration system will also "short-cycle," meaning it turns on and off more frequently than it should. This doesn't just waste a ton of energy; it also puts excessive wear and tear on the compressor, which inevitably leads to expensive repair bills down the road.
A correctly sized walk-in cooler acts as a silent partner in your business. It protects your most valuable assets—your ingredients—and supports an efficient kitchen workflow from storage to the pizza prep table, directly contributing to a healthier bottom line.
The demand for solid cold storage isn't slowing down. The global market for walk-in coolers and freezers was valued at $12.67 billion in 2021 and is projected to hit $20.22 billion by 2028. This growth just highlights how critical these units are in the food supply chain. You can explore more data on market trends to see where the industry is heading.
Connecting Cooler Size to Pizza Quality
Ultimately, the size of your cooler has a direct impact on the quality of the pizza you serve.
- Dough Management: Proper cold fermentation needs ample, undisturbed space for your dough trays. A cramped cooler can completely compromise this critical process, leading to inconsistent crusts.
- Cheese Freshness: Those bulk blocks of mozzarella need consistent, stable temperatures to maintain their signature texture and flavor. Overcrowding can create warm spots in the cooler, which is a fast track to spoilage.
- Ingredient Integrity: From fresh basil to your best pepperoni, proper organization prevents cross-contamination and makes sure every single ingredient is at its peak when it hits the pizza prep table.
Before we jump into the math, it's vital to get these high stakes. Your walk-in cooler isn't just another line-item expense; it's a core investment in your pizzeria's efficiency, quality, and profitability.
Calculating Your Pizzeria's True Storage Needs
Forget the generic rules of thumb you might have heard. For a pizzeria, figuring out your walk-in cooler size means translating your weekly inventory into precise cubic footage. We're not talking about a few delicate herbs; your needs are driven by bulky items like stacks of dough trays, 50-pound blocks of mozzarella, and cases of sauce.
The goal isn't just to buy a box that fits your ingredients. You're designing a functional workspace. You need enough room for the products, the shelving they sit on, and—critically—the aisle space for your team to move fast and safe during a dinner rush.
This visual guide is a great starting point for framing how to measure and plan for your walk-in's footprint.
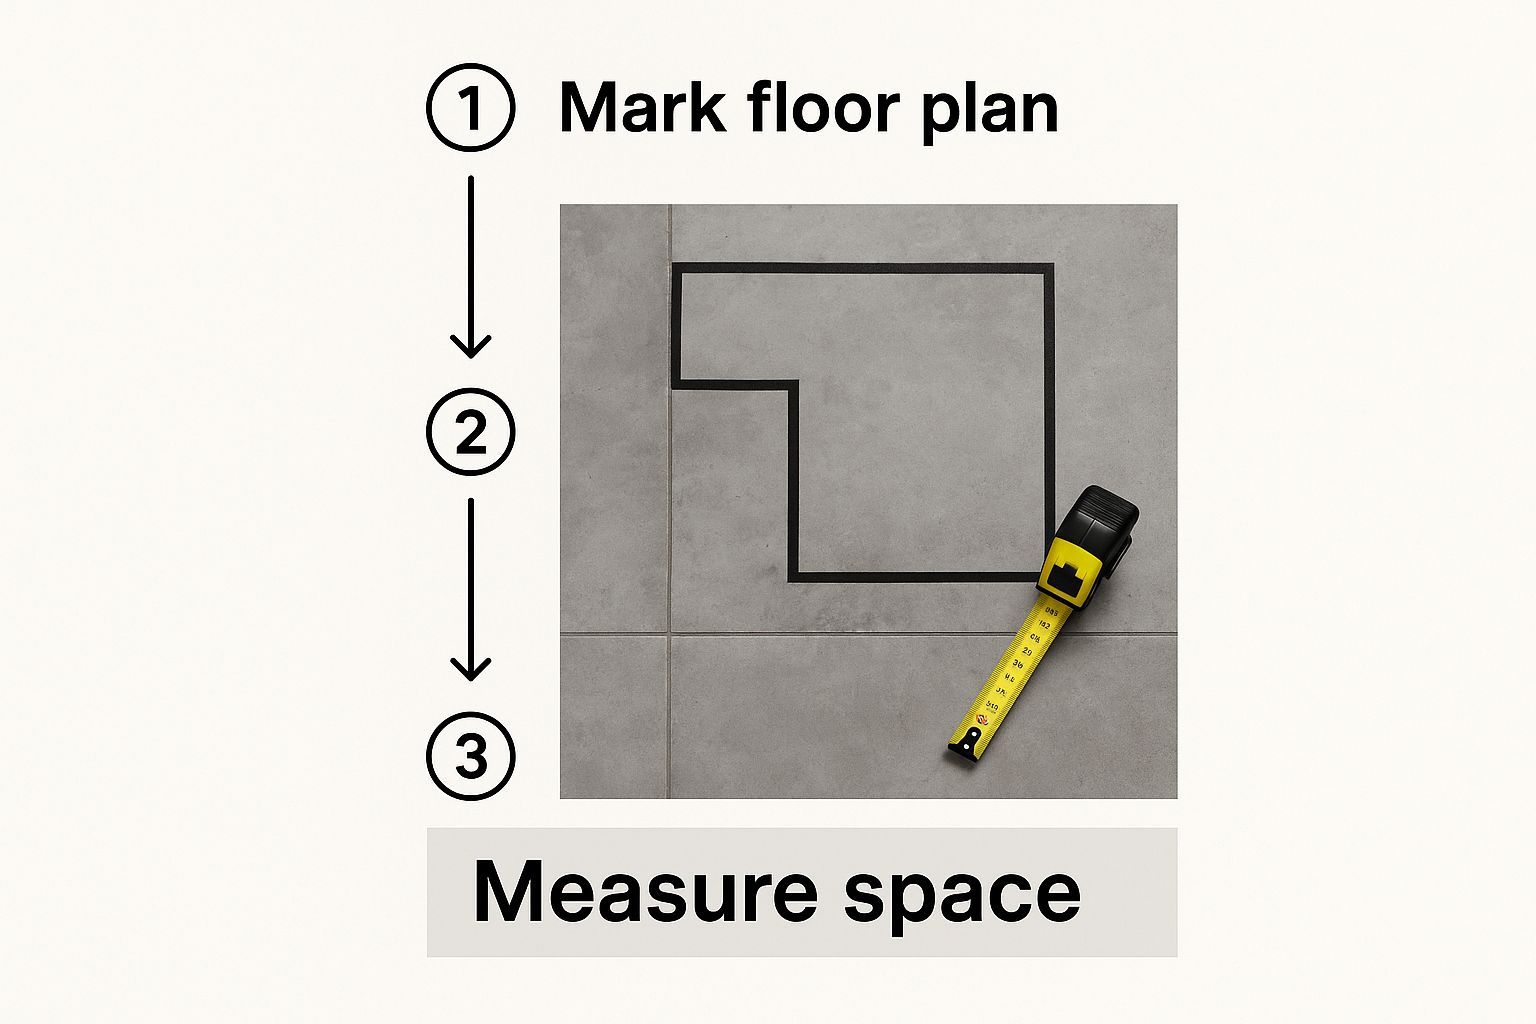
Starting with a precise measurement of your available floor space is the non-negotiable first step. It dictates every single decision that follows.
From Inventory List to Cubic Feet
First things first, list out every single refrigerated item you order on a weekly basis. For a pizzeria, let's focus on the big three: dough, cheese, and produce/sauce. Now, instead of guessing, grab a tape measure and get the actual dimensions of your key items.
- Dough Trays: A standard 18"x26" dough tray is about 3.5 inches tall. A stack of 10 trays takes up roughly 5.4 cubic feet (1.5' x 2.16' x 1.67'). How many stacks do you need to get through a full fermentation cycle?
- Cheese Blocks: That typical 50-pound case of mozzarella might measure 20"x15"x10". Just one case eats up 1.7 cubic feet. If you're ordering five cases a week, that's 8.5 cubic feet for your primary cheese alone.
- Produce Boxes: Get the real measurements for your standard boxes of tomatoes, peppers, and onions. A single case of tomatoes can easily occupy over 2 cubic feet.
This hands-on approach gives you a real-world baseline for your total product volume. As a general rule, one cubic foot of walk-in space can hold about 30 pounds of product, assuming it's organized well.
To give you a clearer picture, here’s how storage needs might break down based on your weekly output.
Sample Storage Needs by Pizzeria Output
| Pizzas Per Week | Dough Tray Storage (Cubic Feet) | Cheese & Toppings (Cubic Feet) | Produce & Sauce (Cubic Feet) | Estimated Total Cooler Size (Sq. Ft) |
|---|---|---|---|---|
| 500 | 22 | 15 | 10 | 6' x 6' |
| 1,000 | 45 | 30 | 20 | 6' x 8' |
| 1,500 | 65 | 45 | 30 | 8' x 8' |
| 2,000 | 90 | 60 | 40 | 8' x 10' |
| 3,000+ | 135+ | 90+ | 60+ | 10' x 12' or larger |
These numbers are just a starting point, of course. Your specific menu and delivery schedule will shift these figures, but it helps visualize how quickly storage demands can grow as your business scales.
Factoring in Shelving and Airflow
Now, here's where a lot of people go wrong. Your calculated product volume is only one part of the puzzle. You absolutely must add space for shelving and, most importantly, airflow. I've seen coolers packed so tightly that air can't circulate, leading to hot spots that spoil thousands of dollars in ingredients.
A good guideline is to add 30-40% to your raw product volume. This buffer accounts for the physical space of shelving, functional aisle space, and the necessary gaps for air circulation. This "breathing room" is what ensures consistent temperatures and protects your inventory.
So, if your detailed inventory calculation comes out to 150 cubic feet, you should be looking for a walk-in with at least 195-210 cubic feet of total interior space. This ensures you have aisles you can actually walk down and that your refrigeration unit isn't constantly overworked. Optimizing your cooler layout is a crucial first step before ingredients ever reach your pizza prep table.
Beyond just the physical dimensions, truly nailing your storage needs means getting a handle on your stock levels. To get a better grasp on this, you can explore these small business inventory management strategies.
By combining a detailed inventory count with smart planning for workflow and airflow, you move from just guessing to making an informed, data-driven decision. This foundational work prevents costly mistakes and sets your pizzeria up for success from day one.
Optimizing Kitchen Flow Around Your Walk In Cooler

You can have the most perfectly sized cooler in the world, but if it torpedoes your kitchen's natural rhythm, it’s a liability. I've seen it happen time and again: the relationship between where you stick the walk-in and where you place your pizza prep tables is one of the most critical decisions you'll make for your pizzeria's efficiency.
Think about it. Every single extra step a pizza maker has to take from the cooler to the pizza prep table adds up. During the dinner rush, those seconds turn into minutes, and your whole operation slows to a crawl.
A badly placed cooler creates a traffic jam, plain and simple. It forces your staff to weave through crowded walkways or cut across the path of servers carrying hot food. This doesn't just inflate ticket times; it's a safety hazard waiting to happen. The goal is to create a seamless flow where the cooler directly feeds the pizza prep table, making ingredient retrieval an afterthought.
The Prep Line Proximity Debate
When you're sketching out your kitchen layout, you’ll hit a major crossroads: does the walk-in go directly beside the pizza prep tables, or should it sit in a more central, accessible spot? Each approach has its own pros and cons, and the right answer depends entirely on your kitchen's size and shape.
-
Direct Proximity: Putting the cooler right next to the prep line is the most straightforward route. This setup chops travel time down to almost nothing, letting your pizza makers simply pivot and grab ingredients in a couple of steps. It’s a fantastic layout for smaller, high-volume kitchens where every second is gold.
-
Central Location: On the other hand, placing the cooler in a central area that’s easy for multiple stations (prep, sauté, salad) to get to can improve the overall kitchen flow. The pizza maker might have a few more steps to walk, but it stops the prep line from becoming a congested mess and lets cooks from other stations grab what they need without interrupting the pizza maker's groove.
Here's the bottom line: the best layout minimizes the total number of steps your team takes during a shift. Literally trace the path from the cooler to the pizza prep table, then to the oven. Any friction or wasted steps in that path is a direct hit to your productivity and your profits.
The United States dominates global sales for these crucial refrigeration systems, with a market propped up by tens of thousands of restaurants. With billions invested annually in cold chain logistics, it’s clear how vital efficient cooler access is to the entire food service industry.
Door Swing and Aisle Width Matter
Beyond the cooler's general location, it’s the little details that can have a massive impact on your daily operations. The direction the cooler door swings, for instance, is a deceptively crucial detail. A door that swings out into a busy traffic lane can cause dangerous collisions and bring workflow to a screeching halt. Always try to have the door open against a wall or into a less-traveled area.
The width of the aisle in front of the cooler is just as important. A narrow aisle forces staff to squeeze past each other, making it impossible to use rolling racks or carts to restock the pizza prep table. You should aim for an aisle wide enough for two people to pass by comfortably, even when the cooler door is wide open. Nailing these details is a huge part of creating a functional space, a topic we dive into deeper in our guide to commercial kitchen layout design.
You've got the dimensions dialed in. Now it's time to get under the hood and look at the technical specs. This can feel like trying to read a foreign language, but trust me, getting a handle on a few key terms will make all the difference in choosing a walk-in cooler that works for you, not against your budget.
First up is a big one: choosing between a remote and a self-contained refrigeration system. Think of a self-contained unit as an all-in-one package. The compressor and condenser are built right in, usually sitting on top of the cooler. It's a simpler setup, often cheaper and faster to install, which makes it a great fit for smaller pizzerias or spots where running refrigerant lines just isn't practical.
On the other hand, a remote system is a bit more involved. It places the noisy, heat-pumping condenser and compressor completely outside your building. Yes, the initial cost and installation are more complex. But the payoff is huge: all that heat and noise is moved out of your kitchen. This means a cooler, more comfortable work environment and often lower energy bills because the unit isn't constantly fighting the ambient heat from your pizza ovens.
Understanding the Cooler's Construction
Beyond the refrigeration system itself, the physical build of the walk-in is where the long-term efficiency really comes from. The cooler's walls are made from insulated panels, and how thick they are directly impacts your cooler's ability to hold its temperature.
- Panel Thickness: Most quality walk-in coolers you'll see use panels that are 4 inches thick. This thickness generally gives you an R-value between R-25 and R-32—that's a measure of how well it resists heat transfer. If you're building a freezer or your pizzeria is in a scorching hot climate, stepping up to 5-inch or 6-inch panels can dramatically cut down your energy use over the life of the unit.
- Flooring Options: You'll also need to decide on flooring. A floorless cooler gets installed right on your existing concrete slab. It saves you money upfront and makes it a breeze to roll carts in and out. However, an insulated floor is way more energy-efficient and is an absolute must if your cooler is going on a wooden subfloor—it prevents condensation that can lead to rot and serious damage.
One of the most common mistakes I see is operators trying to save a few bucks on thinner panels or a floorless design. That upfront savings gets eaten up fast by higher utility bills. Spending a bit more on better insulation almost always pays for itself within just a few years.
Key Terms on a Spec Sheet
When you're looking at a spec sheet, it's easy to get lost in the numbers. But there are two you really need to focus on: BTU capacity and compressor horsepower (HP).
BTU stands for British Thermal Unit, and it’s a measure of how much heat the refrigeration system can pull out of the cooler every hour. A sizing chart for a standard 8'x8' walk-in might show a requirement of around 6,258 BTU/hr for typical use. This number has to be enough to handle your full product load, the door openings, and the ambient heat of your kitchen.
Compressor horsepower (HP) tells you how powerful the motor is. While a higher HP generally means more cooling power, it's the BTU rating that gives you the real story of the unit's cooling muscle. Don't get fixated on HP alone; make sure the BTU output matches what you actually need.
To see how these technical specs fit into the bigger picture of your kitchen layout, it helps to understand how designers create digital models of equipment. Some firms specialize in building Revit family libraries to ensure every piece fits and functions perfectly.
Choosing the right equipment is a huge decision, and it doesn't stop with the walk-in. For more tips on selecting other essential refrigeration, check out our ultimate commercial fridge freezer combo guide.
Costly Sizing Mistakes Pizzeria Owners Make
Learning from someone else’s blunders is one of the smartest ways to protect your investment. When it comes to walk-in cooler sizing, I’ve seen a few common—but very expensive—errors trip up even the sharpest pizzeria owners. Getting ahead of these traps is crucial for building a financially healthy and efficient kitchen right from the start.
One of the biggest missteps is simply failing to plan for your own success. It’s tempting to buy a smaller, less expensive cooler that perfectly fits your day-one needs. But as your pizzeria grows, that "perfectly sized" cooler quickly becomes a cramped nightmare, forcing you to buy a second, inefficient unit that drains power and clutters your kitchen.
Ignoring Air Circulation and Health Codes
Another critical error is underestimating the space you need for proper air circulation inside the cooler. I’ve walked into kitchens where owners have packed a walk-in so tightly that air can’t flow, creating dangerous hot spots. This one mistake can spoil hundreds of dollars in cheese and produce overnight because the refrigeration unit physically can’t keep the entire space cool.
Don’t just plan for your product volume; plan for airflow. A good rule is that your total product should never occupy more than 60-70% of the cooler’s total cubic footage. The remaining space is essential for cold air to circulate and maintain safe temperatures.
Ignoring local health codes for cooler placement and clearance is another costly gamble. Many jurisdictions have strict rules about how much space you need around the unit for cleaning and maintenance. A violation could mean a failed inspection and an expensive, disruptive kitchen reconfiguration down the line.
The Financial Impact of Sizing Errors
Many common sizing errors can lead to unexpected financial burdens. These aren't just minor inconveniences; they are direct hits to your bottom line through wasted food, higher energy bills, and inefficient labor. Learning some basic strategies to reduce overall construction costs can help pizzeria owners get ahead of these risks.
The global market for these units is massive, with North America alone making up over 40% of a market estimated at $10.2 billion. With so much money being invested, getting the sizing details right is paramount. You can explore more insights on these regional market trends for walk-in coolers.
Careful planning that accounts for future growth, proper internal airflow, and local regulations ensures your walk-in cooler becomes a long-term asset, not a recurring headache.
Tackling Your Top Pizzeria Cooler Questions
Making a big investment like a walk-in cooler always brings up a few last-minute questions, and that's a good thing. For pizzeria owners, the challenges are unique because your inventory isn't like any other restaurant's. Let's clear up some of the most common questions I hear from shop owners.
Getting these details right is about more than just buying a big box; it’s about making sure your entire kitchen flows smoothly, from the delivery door to your pizza prep tables.
What Is a Good Rule of Thumb for a Pizzeria?
Forget the general restaurant advice you've heard. Calculating 1 to 1.5 cubic feet of cooler space per seat is a useless metric for pizzerias. Your world revolves around bulky dough trays, massive blocks of cheese, and cases of sauce—not the number of chairs in your dining room.
A much smarter starting point is to look at your weekly inventory and how often you get deliveries. For a small-to-medium-sized shop, an 8'x8' walk-in is often a solid bet. But that's just an estimate—you absolutely must calculate your inventory volume first. If you get deliveries three times a week, you can get away with a smaller footprint than a pizzeria that gets one massive drop-off for the whole week.
Should My Pizzeria Cooler Have a Floor?
This decision comes down to where you're putting the cooler. If it's going directly onto a ground-level concrete slab, you can often skip the insulated floor. This saves you a chunk of change upfront and makes it a breeze to roll heavy dough racks and carts right inside.
But here’s the non-negotiable part: an insulated floor is mandatory if your cooler will sit on a wooden subfloor or any upper level of a building. Skipping it will lead to condensation, which causes rot and serious structural damage. It's a costly mistake you don't want to make.
Even on concrete, I usually recommend going with an insulated floor. It’s way more energy-efficient. The savings on your monthly utility bill will often pay for the higher initial cost within just a few years.
How Much Clearance Do I Need Around the Cooler?
Your refrigeration system needs to breathe—it's the key to its longevity. If you have a self-contained unit (where the condenser sits on top), you need at least 1-2 feet of open space above it. This clearance is critical for air to circulate and pull heat away from the unit.
A remote system, with the condenser located outside on the roof or behind the building, is much more forgiving. The box itself only needs a few inches of clearance on the sides for the installers to do their job and for you to clean around it. Always, always check the manufacturer's specs. Skimping on clearance is the fastest way to overheat and kill your compressor, a painful repair that will almost certainly void your warranty.
Can I Use My Walk In to Proof Pizza Dough?
This is a point of confusion for a lot of new owners. A walk-in cooler is absolutely perfect for the cold fermentation of your pizza dough. This is that slow, magical process, typically between 35-40°F, where your dough develops its amazing flavor and texture over one to three days.
However, a cooler is not for "proofing." Proofing is the final, warm rise your dough takes just before it hits the oven. Your walk-in is for the cold, slow development. This means your cooler sizing has to account for enough shelf space to hold your entire rotation of dough trays as they cycle through their multi-day fermentation.
At Pizza Prep Table, we know the unique challenges pizzeria owners face every day. From sizing the right walk-in cooler to finding the perfect pizza prep table to anchor your kitchen, our team is here to help you build an efficient, profitable business. You can explore our full selection of commercial kitchen equipment designed specifically for pizzerias right on our website.