

Converting a natural gas range to propane: A Complete Guide for Pizzerias
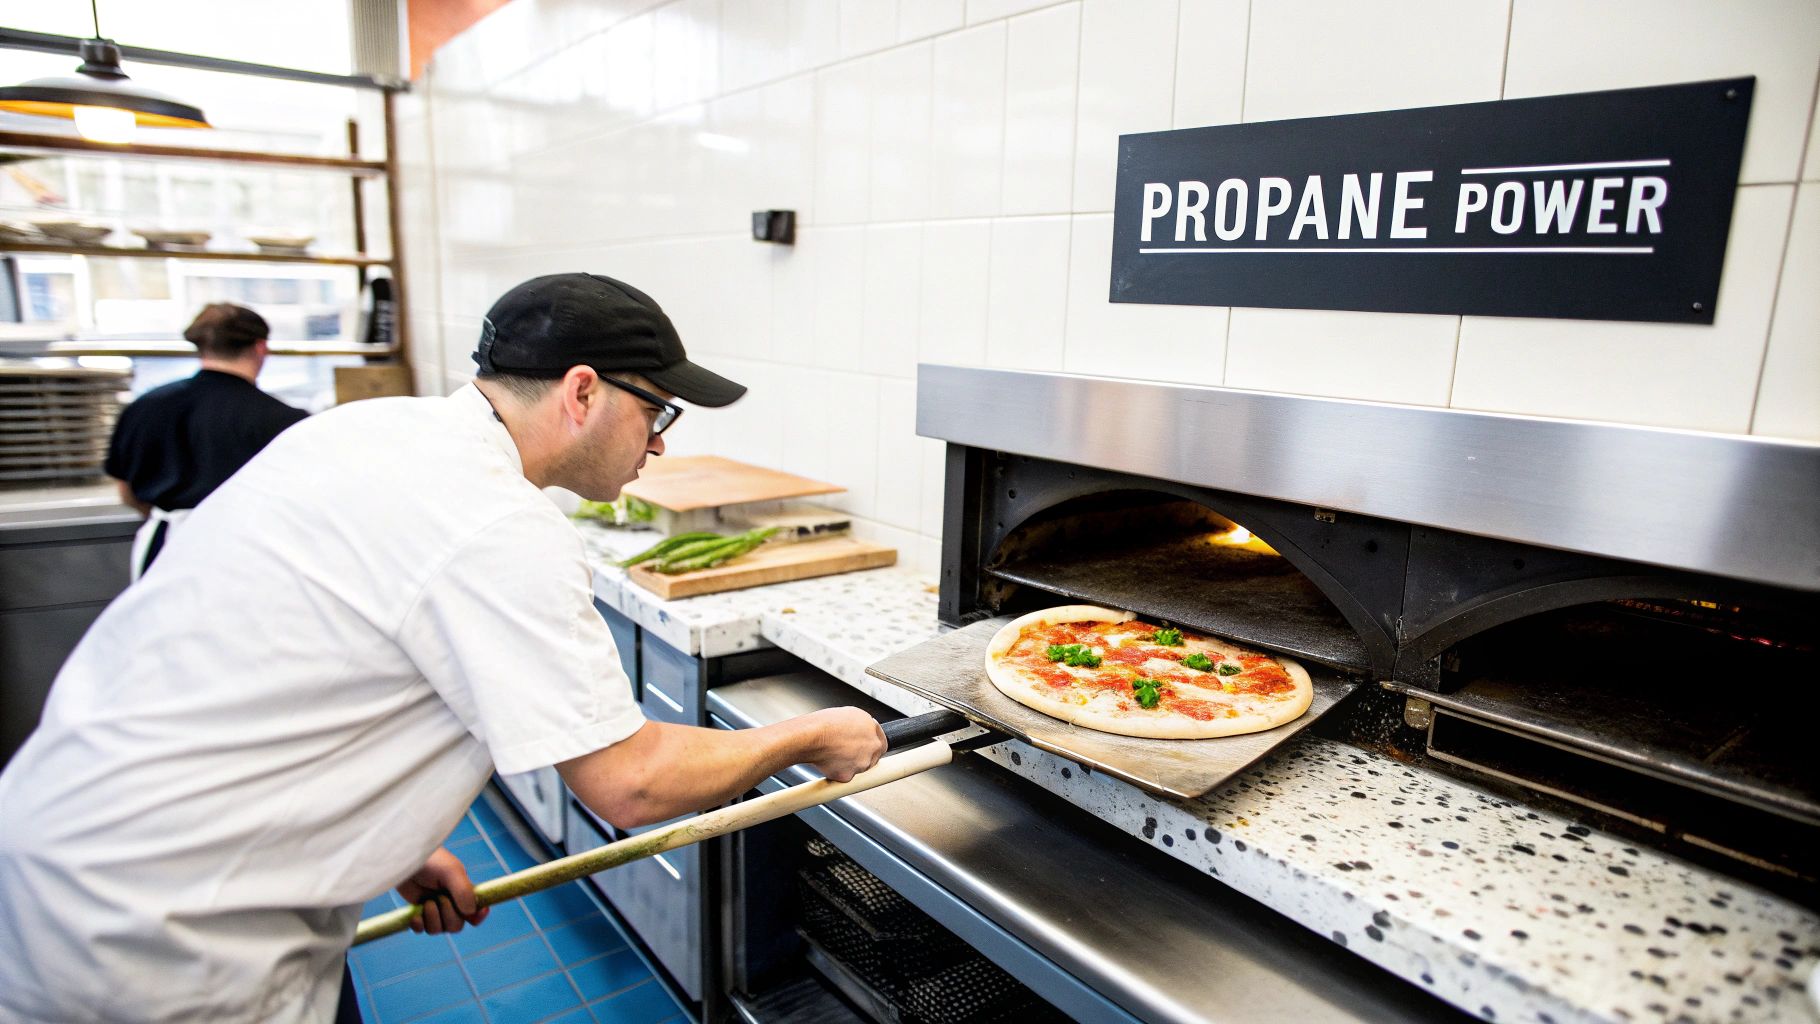
For any pizzeria, powerful, consistent heat is the name of the game. It's why so many owners end up converting a natural gas range to propane. This isn't just a random switch; it's often a strategic move, especially when you're looking to expand into areas without natural gas lines, launch a food truck, or set up a pop-up kitchen where your entire operation, including your pizza prep tables, needs to be mobile.
The conversion itself means swapping out specific parts to safely handle propane's higher pressure and more potent energy output.
Why Pizzerias Convert From Natural Gas To Propane
In the high-stakes, fast-paced world of pizza making, every second counts, especially when the dinner rush hits. The ability to get a deck oven screaming hot or fire up a commercial range in minutes is the backbone of an efficient kitchen. And while natural gas is a solid utility in most cities, it chains your business to one physical spot. For any ambitious pizzeria owner eyeing expansion, that chain can start to feel pretty heavy.
This is where propane comes in. It's not just another fuel source; it's your ticket to operational freedom.
The Power and Portability Advantage
The biggest driver for pizzerias making the switch is propane's one-two punch of superior energy density and go-anywhere portability. Imagine you land a prime spot at a weekend farmer's market or a big local food festival. Without a natural gas hookup, your high-performance ovens and ranges are just heavy metal sitting next to your empty pizza prep tables. Propane, stored in portable tanks, lets you take your entire kitchen on the road.
This kind of flexibility opens up new revenue streams and marketing opportunities that are just plain impossible with a fixed gas line. You can test out a new neighborhood with a pop-up before signing a lease or build a loyal following with a killer food truck.
Propane gives a pizzeria the power to operate almost anywhere. It’s not just about the fuel; it's about unlocking the potential to bring your pies directly to the people, wherever they happen to be.
Understanding the BTU Difference
So, what's the technical secret behind propane's muscle? It all comes down to its British Thermal Unit (BTU) output. Propane simply packs more energy punch per unit of volume, which is why it's a go-to for off-grid cooking.
Here's the breakdown: one cubic foot of natural gas generates about 1,000 BTUs. Propane, on the other hand, delivers a whopping 2,500 BTUs per cubic foot—that's 2.5 times the energy. If you want to get deeper into the weeds on this, you can check out our guide on the differences between natural gas vs propane.
This higher energy concentration means your gear heats up faster and recovers its temperature more quickly between cooks. When you're sliding pizzas in and out of an oven all night, that rapid recovery is what keeps your crusts consistently crispy. For a good primer on the fuel itself, it's worth reading up on understanding LPG heating and how it works.
Your Essential Toolkit For The Propane Conversion
Trying to convert a natural gas range to propane without the right parts and tools is like prepping a pizza without a prep table—it’s going to be messy, inefficient, and you probably won't like the result. In a commercial pizza kitchen, proper preparation is everything, especially when you're working with gas lines.
So, before you even think about touching a single fitting on your workhorse range, let's get your complete checklist squared away. Having the right gear on hand turns what seems like a daunting job into a methodical, step-by-step process. This isn't just about wrenches and sealant; it's about knowing why each part is non-negotiable for a safe conversion that keeps your pizzeria humming.
Anatomy Of A Manufacturer-Approved Conversion Kit
First things first: always, always start with a manufacturer-approved conversion kit made for your specific range model. It doesn't matter if you're running a heavy-duty Vulcan or a reliable Blodgett—using a generic or pieced-together kit is asking for trouble. The official kit is your guarantee that every part is engineered to work safely with your exact appliance.
Inside that box, you'll find two things that are absolutely critical:
- Propane Orifices (Spuds): These small, precision-drilled brass fittings are the real heart of the conversion. Propane is delivered at a higher pressure and is more energy-dense than natural gas, which means it needs a much smaller opening to release the right amount of fuel. The orifices in the kit are drilled to the exact specifications needed to give you the same BTU output you had with natural gas. This ensures your pizzas cook perfectly every single time.
- A New Pressure Regulator: This is easily the most important safety device in the whole kit. The regulator's job is to step down the high pressure coming from the propane tank to a safe, usable level for the range. Simply trying to adjust your old natural gas regulator is not an option. It was designed for a completely different pressure system and will fail, creating a seriously dangerous situation.
Never attempt a conversion without the specific orifices and regulator designed for your range. This ensures your appliance operates safely, efficiently, and exactly as the manufacturer intended, protecting both your staff and your investment.
Must-Have Tools And Supplies
With the official kit in hand, the next step is to gather your tools. Having everything you need within arm's reach on your pizza prep table will make the process go smoothly and save you from those frustrating mid-job trips to the hardware store.
A classic mistake is trying to get by with just one adjustable wrench. Fittings on commercial ranges come in all shapes and sizes, so a good socket wrench set with multiple sizes is essential. You'll also want a couple of open-ended wrenches for holding fittings steady while you tighten others.
Maybe the most crucial supply on your list is the pipe thread sealant. Don't just grab any old pipe dope from your toolbox. You absolutely must use a sealant that is specifically rated for use with propane gas—it's usually yellow. This stuff is designed to create a durable, leak-proof seal that can handle the unique chemical properties of propane.
Finally, you’ll need a leak detection solution. A simple mixture of soap and water in a spray bottle works perfectly for this.
Before you start turning wrenches, it helps to have a clear inventory of everything you'll need.
Essential Tools And Parts For Propane Conversion
| Item | Function & Key Consideration | Pro Tip for Pizzerias |
|---|---|---|
| Manufacturer Conversion Kit | Contains model-specific propane orifices (spuds) and a new pressure regulator. This is non-negotiable. | Order this the same day you order the range. Don't assume it will come with the unit. |
| Socket Wrench Set | Needed for removing and installing various-sized orifice jets and fittings. A deep socket set is often required. | Keep a 7mm or 1/4" deep socket handy; it's the most common size for cooktop orifices. |
| Open-Ended Wrenches | Used to hold fittings in place while tightening others, preventing damage to gas lines and valves. | Have two of the same size available. It makes counter-tightening much easier. |
| Propane-Rated Pipe Sealant | Yellow Teflon tape or pipe dope specifically formulated for propane gas to ensure a leak-proof seal. | Apply the sealant starting from the second thread to prevent it from clogging the orifice jet. |
| Leak Detection Solution | A simple soap-and-water mix in a spray bottle used to check for gas leaks after the conversion is complete. | The "bubble test" is your best friend. Any bubbling indicates a leak that needs immediate attention. |
| Flashlight or Headlamp | Essential for seeing into the dark corners of the range's interior where orifices are located. | A headlamp frees up both of your hands, which is a huge help when you're in a tight spot under the cooktop. |
| Safety Glasses | Protects your eyes from dust, debris, and any sealant that might flick up during application. | Wear them. It's a simple step that prevents a trip to the emergency room. |
Having this gear ready to go transforms the job from a potential headache into a straightforward mechanical task. It’s all about working smart.
For pizzeria owners looking to ensure their entire gas line setup is secure from the tank all the way to the appliance, it's smart to invest in high-quality components. You can learn more about selecting the right commercial gas hoses that are rated for this kind of demanding environment. Using a robust, certified hose is a key part of a safe and professional installation.
How To Convert Your Range Burners And Oven
Alright, this is where the real work begins. Converting your range’s burners and oven is a step-by-step job, but it’s completely manageable if you take it one piece at a time. For a busy pizzeria, where your range is the heart of the kitchen right next to your pizza prep table, getting this right is non-negotiable for a smooth operation. We'll go through the entire process, focusing on the commercial ranges you see in high-volume pizza shops.
First thing's first, and it's the most important: safety. Before you even think about touching a wrench, find your main gas supply valve and shut it off completely. This will be either at the propane tank or where the natural gas line enters your building. After that, unplug the range from the wall. You never, ever work on a gas appliance that's connected to fuel or power.
Gaining Access To The Orifices
With your range safely shut down, the first job is getting to the orifices. These are the small brass fittings that actually control the gas flow. On most commercial ranges, the stovetop orifices are tucked away right under the burners.
You'll need to pull off the heavy cast-iron grates first, then lift out the burner heads. Most of the time they just lift straight off, but some models might have a single screw holding them in place. Look carefully.
Once the burner head is off, you’ll see a tube (the venturi) leading to the gas valve. The natural gas orifice is that little threaded brass jet right at the end. It's often recessed, which is why having that deep socket wrench is so critical.
Before you unscrew a single thing, pull out your phone and snap a picture. Trust me, this simple move can be a real lifesaver later if you get turned around. I also recommend working on one burner at a time to keep all the parts together and avoid any mix-ups.
Swapping The Cooktop And Oven Orifices
Now that you can see the orifice, use your deep socket wrench to carefully unscrew the existing natural gas spud. A simple counter-clockwise turn will loosen it. These brass fittings are soft, so use firm, steady pressure to avoid stripping the head.
Grab the matching propane orifice from your conversion kit. You’ll see right away that the hole is much smaller—that's by design. Carefully thread the new propane orifice into place by hand first. This prevents cross-threading, which is a nightmare you want to avoid. Once it's started correctly, use your socket wrench to tighten it until it's just snug.
Pro Tip: Don't go crazy tightening the new brass orifices. A classic rookie mistake is to crank down on them with all your strength, which can crack the fitting and cause a dangerous leak. The rule of thumb is "finger-tight," then just a gentle quarter-turn with the wrench.
The oven process is very similar, but usually involves a bit more work to get access. You'll probably have to remove the oven's floor panel to see the main oven burner tube. The orifice is located where the gas supply line meets this burner. Unscrew the old one and replace it with the new propane oven orifice from your kit, using that same "snug, not stripped" approach.
Installing The New Propane Regulator
This step is absolutely critical for safety and performance. The natural gas regulator on your range is not designed for the higher pressure of propane. You have to swap it out for the new one in your kit.
You'll usually find the regulator at the back of the range where the main gas line connects. Before you disconnect anything, look for an arrow stamped on the old regulator—this shows the direction of gas flow. Your new propane regulator has to be installed with the arrow pointing the same way, toward the appliance.
Unscrew the fittings on the old regulator. You’ll likely need two wrenches for this: one to hold the gas pipe still and another to turn the fitting. This keeps you from putting a dangerous amount of stress on the gas lines inside the range.
Before you install the new one, apply a fresh coat of propane-rated pipe sealant or Teflon tape to the male threads of the connecting pipes. A quick tip: wrap the tape clockwise. That way, it won't unravel as you tighten the fittings. Screw the new regulator on, double-check that flow arrow is correct, and tighten everything down securely.
This graphic breaks down the essential tools for the job—it's all about having the right kit, the right tools, and the right sealant.
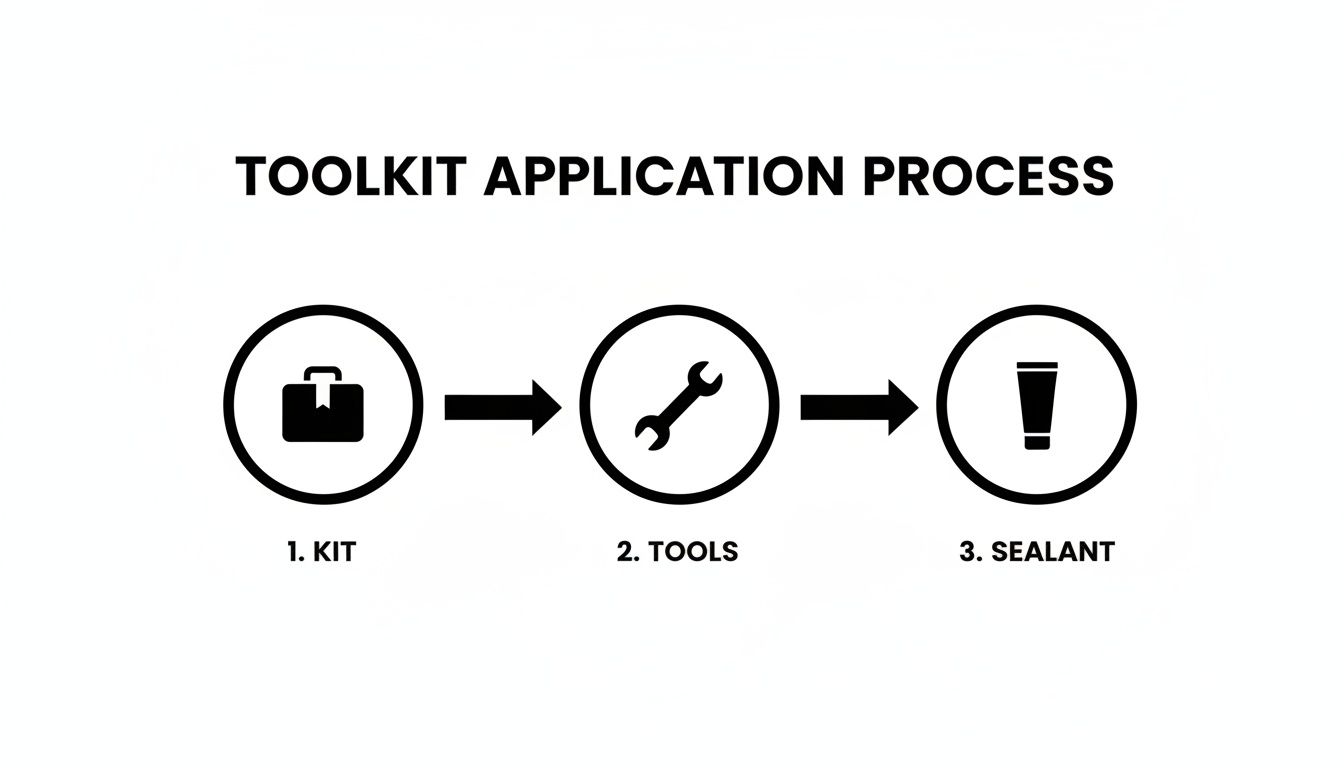
These are the three pillars of a successful conversion. Get these right, and the rest of the job will go smoothly.
Adjusting The Air Shutters For A Perfect Flame
With the new hardware in place, there’s one last adjustment before you put everything back together. Propane needs a different air-to-fuel mix than natural gas to burn right. This is controlled by the air shutter, which is a small metal collar with an opening near the base of each burner tube.
Find the screw on the air shutter and loosen it just enough so you can rotate it. Your goal is to change the size of the opening.
- For the stovetop burners, a good starting point is to close the shutter to about halfway open.
- For the oven burner, you'll want it more closed, usually around three-quarters of the way.
These are just starting points, not the final settings. You’ll fine-tune them later when you test the flames, but presetting them now makes that final step much faster. Once they're adjusted, gently tighten the screws so they stay put. Now you can reassemble the burner heads, put the oven floor back, and set the grates in place. You're ready for the final safety checks.
Mastering The Final Safety Checks And Flame Adjustments
You've swapped the orifices, flipped the regulator, and put the burners back in place. It might feel like you're on the home stretch, but this last part is arguably the most important. Getting these final checks right is non-negotiable for the safety of your pizza restaurant and the quality of every pie that leaves your kitchen.
Don't rush this. This is your final quality control, ensuring every connection is airtight and every flame is burning perfectly. It’s the last step before your newly converted range gets back to work.
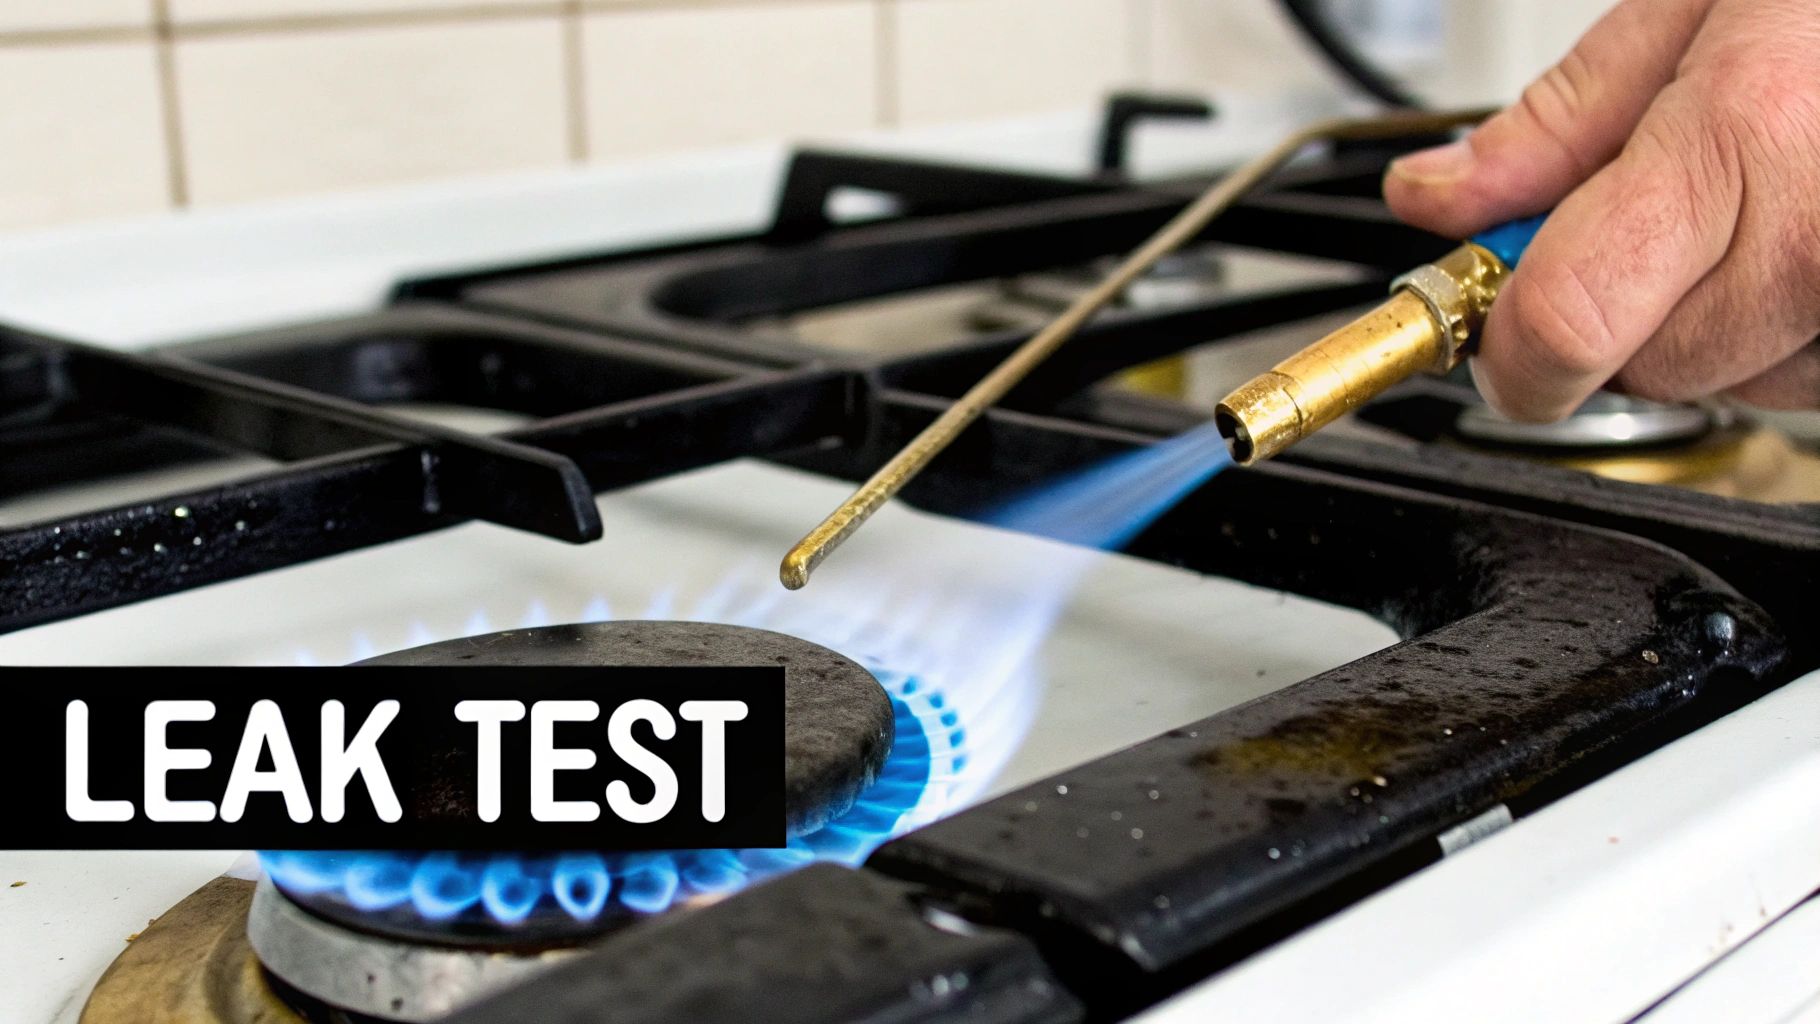
The Foolproof Leak Test Method
Before you even dream of lighting a burner, you have to do a leak test. The old-school method is still the best: a simple solution of soapy water. Just mix some dish soap and water in a spray bottle until it's nice and bubbly.
Go ahead and turn the main gas valve back on at the propane tank. Now, methodically spray down every single connection you worked on.
- Every fitting around the new pressure regulator.
- The connection where the main gas line feeds into the range.
- The base of each new orifice you installed for the cooktop and oven.
Look closely. If you see any bubbles forming or growing, you've found a leak. It’s an unmistakable sign that something isn't sealed right.
Even a tiny bubble means you need to shut off the gas at the tank immediately. Don't light anything. Go back and give the leaking fitting another quarter-turn. It usually doesn't take much. Then, test it again with the soapy water until you see zero bubbles.
Fine-Tuning The Flame For Peak Performance
Once you're 100% certain there are no leaks, it's time to light things up and dial in the flame. This isn't just about cooking performance; it's a critical safety step. An improperly adjusted flame wastes fuel and can produce dangerous levels of carbon monoxide.
Light a single burner and crank it to its highest setting. You’re looking for a clean, mostly blue flame with just a tiny flicker of yellow at the very tips. The flame should be quiet and stable, sitting right on the burner ports without lifting off or making a roaring noise.
If it doesn't look right, you’ll need to adjust the air shutter you preset earlier.
- A noisy, lifting flame means it’s getting too much air. Loosen the screw on the air shutter and close the opening just a bit to restrict the airflow.
- A lazy, mostly yellow flame is a sign of too little air, which leads to an inefficient burn. You’ll need to open the air shutter a little more to let it breathe.
Make small, incremental adjustments until that flame is a perfect, quiet blue. Repeat this exact process for every single burner.
Verifying The Oven Pilot And Thermostat
Your oven needs the same level of attention. Light the pilot and watch it for a minute or two. You want to see a steady, confident blue flame that doesn’t flicker out. An unstable pilot is a serious red flag.
Next, it's time to check the thermostat's accuracy. Set your oven to 350°F and pop a reliable oven thermometer inside. Let it preheat and cycle on and off a couple of times. The reading on your thermometer should be pretty close to the temperature you set. If it’s off by more than 15-20 degrees, it might need a professional calibration.
For any kitchen, but especially a pizzeria, an accurate oven is everything. It's what delivers that perfectly crisp, golden-brown crust instead of a soggy, disappointing one.
The science here is simple. Propane packs a bigger punch, with about 2,516 BTUs per cubic foot compared to natural gas at 1,030 BTUs. Without these final adjustments, you’re not just getting a bigger flame; you’re risking incomplete combustion and higher carbon monoxide output. In commercial kitchens where gas is king, these details are what separate the pros from the amateurs.
It's also a good idea for homeowners to understand how to detect gas leaks for ongoing safety. Nailing these final steps ensures your equipment runs not just powerfully, but safely.
Knowing When To Call A Professional Gas Technician
Even the most hands-on pizzeria owner knows there are times when calling in a specialist is the smartest business decision you can make. While converting a natural gas range to propane is a manageable task for many, there are clear red flags that signal it’s time to put down the wrench and pick up the phone.
This isn't about giving up; it’s about protecting your staff, your customers, and your investment. Recognizing your limits is a strength. Pushing forward when you’re uncertain can lead to dangerous leaks, inefficient performance, or even damage to your expensive commercial range—the workhorse of your pizza restaurant.
Red Flags That Demand A Professional’s Eye
Sometimes, the project simply doesn’t go as planned. If you run into any of these common but tricky situations, it’s a clear sign to stop and call for backup. A licensed gas technician has seen it all and has the specialized tools and experience to resolve issues that could stump even a skilled DIYer.
Here are specific scenarios where professional help is non-negotiable:
- You Can't Find an Official Conversion Kit: If you can't locate a manufacturer-approved kit for your specific range model, stop right there. A professional may have access to supplier networks you don’t, but more importantly, they can confirm if your unit is even convertible in the first place.
- Fittings Are Stripped or Seized: You’ve applied steady pressure, but that old orifice just won’t budge, or worse, the head starts to strip. Applying more force is a recipe for a cracked gas valve. Technicians have extractor tools and techniques to remove stubborn parts without causing collateral damage.
- You Feel Uncertain About Any Step: If at any point you feel unsure—whether it's identifying the right part, applying sealant correctly, or interpreting the flame—that's your cue. Your gut feeling is a valuable safety tool; trust it.
Choosing to hire a professional isn't a failure. It's a responsible management decision that prioritizes safety and compliance, ensuring your pizzeria operates without risk. In the long run, it's always cheaper than the alternative.
The Critical Role of Codes and Compliance
Beyond the mechanical challenges, there are legal and insurance-related reasons to hire a pro. In many jurisdictions, any modification to a gas line in a commercial kitchen must be performed by a licensed and certified technician. This isn't just red tape; it’s a critical safety mandate.
Local health and fire codes are incredibly strict about gas appliances. An inspector can shut down your operation if they find work that wasn't done by a licensed professional or doesn't meet code. Even worse, in the event of a fire or accident, your insurance claim could be denied if the conversion was a DIY job.
Hiring a professional provides you with a paper trail and peace of mind, proving the work was done correctly and to code. For a deeper understanding of what goes into a professional setup, you might be interested in our guide on commercial range installation what you need to know. It’s a small investment that guarantees your pizzeria is safe, compliant, and fully insured.
Questions We Hear All the Time About Propane Conversions
Even after you've tightened the last fitting and checked for leaks, a few questions usually pop up. For a pizzeria owner, you don't need jargon—you need clear answers that help you run your kitchen safely and get back to making pizzas.
Let's cut through the noise and tackle the most common things people ask after converting a natural gas range to propane.
Can I Convert Any Commercial Gas Range To Propane?
This is the big one, and the answer is a hard no. You absolutely cannot convert every range out there. It all comes down to what the manufacturer intended.
Before you even think about buying a conversion kit, find the data plate on your range. It's that little metal plaque, usually on the back or tucked inside the oven door. It's the appliance's birth certificate, and it will tell you everything.
If that plate specifically says the model is convertible to LP gas (propane), you're good to go. If it doesn't mention convertibility, or if the manufacturer doesn't sell an official kit for your specific model, then stop. You cannot safely convert it. Trying to rig it with mismatched parts is a massive fire risk, will instantly void your warranty, and could jeopardize your whole kitchen.
Will Using Propane Change How My Pizzas Cook?
When the job is done right, you won't notice a single difference in performance. That's the entire goal. Swapping out the orifices for smaller ones and installing the correct propane regulator is all about making sure the burners produce the exact same BTUs they did with natural gas.
Your flame should be a crisp, steady blue, just as hot and responsive as before. The oven will preheat just as fast, and it will hold temperature perfectly on your pizza prep table, which is what you need for that consistently perfect crust, pie after pie.
A proper propane conversion is all about consistency. Your recipes, cook times, and final product should be identical. The only thing that changes is the tank you're getting your fuel from.
What Are The Biggest Mistakes People Make During Conversion?
The most dangerous mistakes always boil down to one thing: cutting corners on safety. I get it, pizzeria kitchens are fast-paced, but this is one job where you have to slow down and be precise.
Here are the top screw-ups that can lead to a really bad day:
- Grabbing the wrong pipe sealant. Don't even think about using standard white Teflon tape. You need the yellow stuff—the kind specifically rated for propane and other petroleum gases.
- Overtightening the new orifices. Those little brass jets are softer than they look. If you crank down on them like a lug nut, you can easily crack the fitting, creating a serious gas leak right where the flame is. Be firm, but don't go crazy.
- Skimping on the leak test. This isn't optional. Every single connection you loosened or tightened needs to be checked with a soapy water solution after you turn the gas back on. A single bubble you miss could be a disaster waiting to happen.
- Ignoring the air shutter. Seeing lazy, yellow-tipped flames? That's not just inefficient; it's a red flag for incomplete combustion. That means soot, wasted fuel, and potentially harmful carbon monoxide building up in your kitchen.
At Pizza Prep Table, we know that reliable, properly set-up equipment is the backbone of any great pizzeria. Whether you're upgrading your current range or outfitting a new food truck from scratch, we have the commercial kitchen solutions to set you up for success. Check out our huge selection of pizza prep tables and cooking equipment.