

How to Use a Chafing Dish for Your Pizza Buffet
For any pizzeria running a buffet or catering service, the chafing dish is just as vital as your pizza prep table. It's the unsung hero that keeps your garlic knots, saucy meatballs, or baked ziti perfectly hot and tempting for every single customer.
Getting this right is fundamental. Proper use of a chafing dish isn't just about heat—it's about protecting food quality and safety, ensuring your entire menu shines from the first serving to the last.
This guide gets straight to the point, showing you exactly how to set up and manage these essential tools to keep your culinary creations delicious and safe.
Why Your Pizzeria Can't Live Without Chafing Dishes
While the pizza prep table is where the magic starts, chafing dishes are the backbone of your serving line. They solve that classic foodservice problem: how to hold a variety of hot dishes at an ideal, food-safe temperature over several hours. This is absolutely critical for:
- Buffet Lines: Keep pasta bakes, meatballs, and roasted vegetables at a consistent, delicious temperature for self-service guests.
- Catering Events: Deliver a truly professional experience by making sure every off-site guest enjoys a hot meal, just as you intended.
- Holding Stations: Use them behind the counter to hold popular sides, ready for quick plating with takeout orders during a rush.
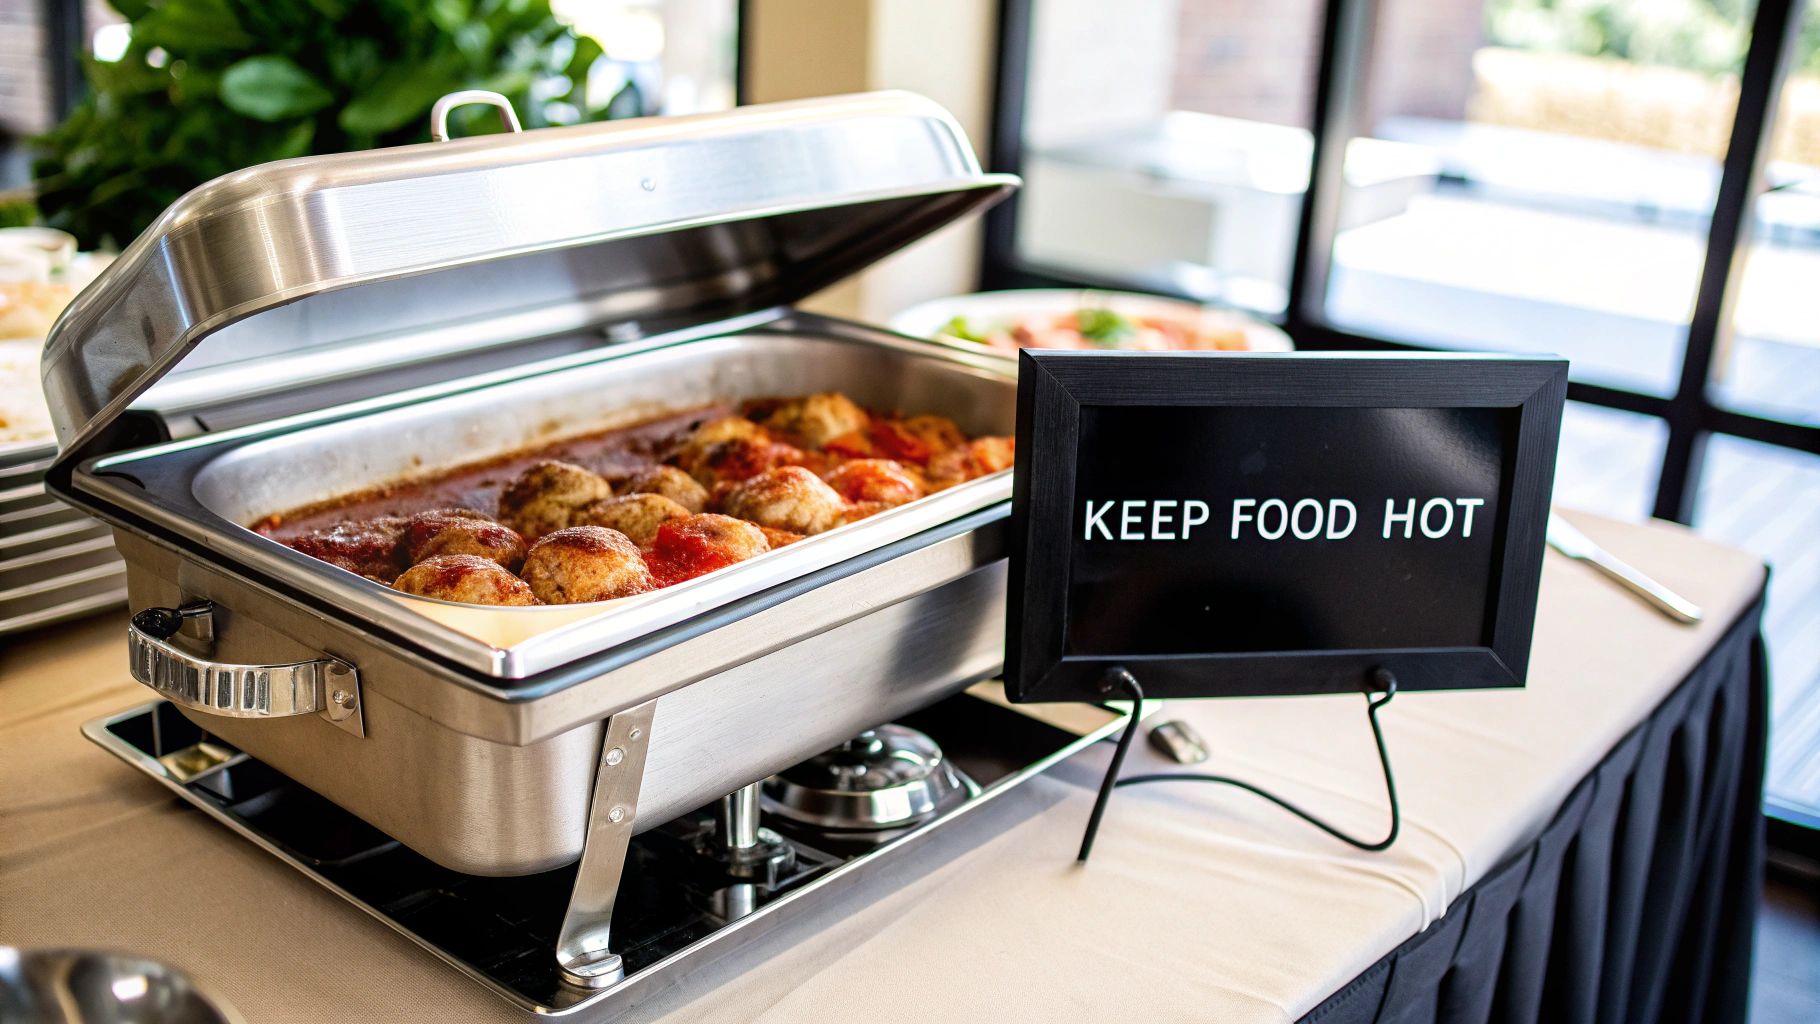
The secret is the gentle heating method, often called a bain-marie or water bath, which keeps your food warm without scorching it. The core rule is simple: keep hot food hot. A chafer is a holding cabinet, not a cooking appliance.
The industry is taking notice, too. The global chafing dish market was valued at $1.2 billion and is projected to skyrocket to $2.05 billion by 2033. Those medium-capacity 4-8 quart models captured over 50% of sales—hitting the sweet spot for space and volume that's perfect for a pizzeria's signature sides. You can learn more about chafing dish market trends and growth here.
For a quick setup, I always tell my clients to follow a few key steps. To make it easier, here’s a quick-reference table that breaks it down.
Chafing Dish Quick Setup Reference
| Action | What to Do | Why It Matters |
|---|---|---|
| Position the Frame | Place the empty frame on a stable, level surface away from flammable items. | Ensures stability and prevents accidental tipping during service. A wobbly setup is a safety hazard. |
| Add Hot Water | Pour about 1 inch of hot (not boiling) water into the deep water pan. | The hot water creates steam, which provides gentle, even heat. Starting with cold water forces the fuel to work harder and longer. |
| Light the Fuel | Place fuel cans in the holders, remove the lids, and light them with a long-handled lighter. | Safely ignites the heat source. Using a long lighter keeps your hands away from the flame. |
| Place the Food Pan | Carefully set your food pan, already filled with hot food, on top of the water pan. | This completes the water bath setup. Crucially, the food should already be at a safe serving temperature (140°F or above). |
| Cover and Serve | Put the lid on the chafing dish to trap the steam and maintain temperature. | The lid prevents heat from escaping and keeps food moist and delicious. |
Following these steps ensures every dish you serve maintains its quality and safety from the moment it leaves the kitchen until it's on a customer's plate.
A well-managed chafing dish setup does more than just keep food warm; it communicates professionalism and a commitment to quality. It’s a silent signal that you care about every single item on your menu, not just the pizza.
Selecting the Right Chafing Dish and Fuel
Picking the right equipment is the first step to a successful buffet, especially in a busy pizzeria where things need to run like a well-oiled machine. The chafing dish you choose is just as important as your pizza prep table; it directly impacts your food quality and how smoothly service flows. It’s all about matching the tool to the task, whether you're serving baked ziti at an indoor buffet or catering an outdoor graduation party.
For something like an upscale pasta bar, a classic stainless steel roll-top chafing dish adds a touch of class and makes life easier for everyone. The lid slides back and stays put, so guests can serve themselves with one hand and you don't have to worry about misplaced lids cluttering up the place. It just keeps the whole presentation looking clean and professional.
On the flip side, if you're doing high-volume catering or big events, stackable rectangular models are your workhorses. They’re designed to maximize every inch of space, both on the buffet line and back in the storage room—a huge plus for any commercial kitchen where space is always at a premium.
Deciding on Your Heat Source
Beyond the shape and style, the most critical decision you'll make is the heat source. This really comes down to your venue, your safety rules, and how much control you need over the temperature.
-
Traditional Gel or Wick Fuel: These are your go-to for portability. If you're catering an outdoor event, a wedding in a park, or anywhere without easy access to a power outlet, these canisters are a lifesaver. They're simple to light, a breeze to replace, and give you consistent heat for a set amount of time, usually somewhere between two and six hours.
-
Electric Chafing Dishes: For any indoor buffet line, electric models are quickly becoming the industry standard, and for good reason. They completely remove the risks that come with an open flame, creating a much safer environment for both your staff and your guests. Even better, they offer precise temperature control, which is essential for holding delicate items that can easily dry out or overcook.
The move toward electric isn't just a hunch; the market data backs it up. The North American electric chafing dish market saw sales of over 2.8 million units, with U.S. restaurants and hotels snapping up 2.1 million of them. Models with 400W-900W power ratings are the most common, and they boast an average 10-year lifespan in commercial kitchens. Safety is a huge factor here, as 64% of new institutional kitchens opted for models with auto shut-off and overheat protection, which seriously cuts down on fire risks.
If you have a permanent buffet line in your pizzeria, investing in electric chafing dishes is a smart play. The upfront cost is higher, but you'll make it back in long-term safety, fuel savings, and the ability to hold dishes at the perfect temperature without someone having to babysit them.
Aligning Equipment with Your Menu
The final piece of the puzzle is making sure your chafing dishes work well with your other key equipment, like food warming tables. These tables give you a larger, more stable platform to hold multiple pans, creating an organized and efficient serving area.
By integrating your chafers with a dedicated warming station, you build a seamless system for keeping every part of your menu—from garlic knots to meatballs—perfectly hot and ready to serve. This kind of synergy ensures your entire hot food lineup maintains its quality from the first guest to the last.
Perfecting Your Chafing Dish Setup Process
Alright, let's move from theory to action. A flawless setup is the bedrock of a successful buffet line. The small details you nail here are what separate a professional, smooth-running service from a chaotic one.
It’s not just about lighting a can of fuel; it’s about creating a stable, efficient, and safe heat source that keeps your famous garlic knots or baked ziti perfect for hours.
The secret to that gentle, consistent heat starts with the water pan. I've seen countless people skip this or get it wrong, but it's the most critical part of the whole setup. Always start by pouring about one inch of hot water into the water pan. Using hot water right out of the gate means your fuel source doesn't waste energy heating up cold water; it gets straight to work creating the steam needed to keep your food perfectly warm.
Assembling for Service
Once your water is in, the rest of the assembly is pretty straightforward, but you still need to pay attention. Carefully place the food pan, which should already be filled with your hot menu items, right on top of the water pan.
Give it a little wiggle. Does it sit level and feel secure within the frame? A wobbly pan is a spill and a safety hazard just waiting to happen, especially during a busy lunch rush.
For fuel-based chafers, go ahead and position your canisters in the designated holders beneath the water pan. Before you even think about lighting them, double-check that the entire frame is on a sturdy, level surface—and keep it away from flammable stuff like paper napkins or cardboard pizza boxes.
A proper chafing dish setup is a lot like a well-organized pizza prep station—every component has its place, and the workflow is designed for efficiency and safety. Skipping a step here is like forgetting the sauce on a pizza; the end result just won’t be right.
Lighting and Temperature Control
With everything in place, it’s time to bring the heat. For traditional fuel sources, pop the lids off the canisters and use a long-stemmed lighter to ignite the fuel. This is a non-negotiable tool for me; it's essential for keeping your hands safely away from the flame.
Most fuel holders have a dampening lid or some kind of adjustable vent. Use this to control the flame size. A smaller flame provides lower, gentler heat, which is perfect for delicate sauces, while a larger flame offers more power for denser items like lasagna.
For electric units, things are even simpler. Just plug it in and set the dial. The ideal holding temperature for most hot foods is between 160°F and 180°F. This range is hot enough to keep food well above the safety "danger zone" (140°F) without continuing to cook and dry it out.
This quick visual breaks down the key decision between fuel types based on your event's location.
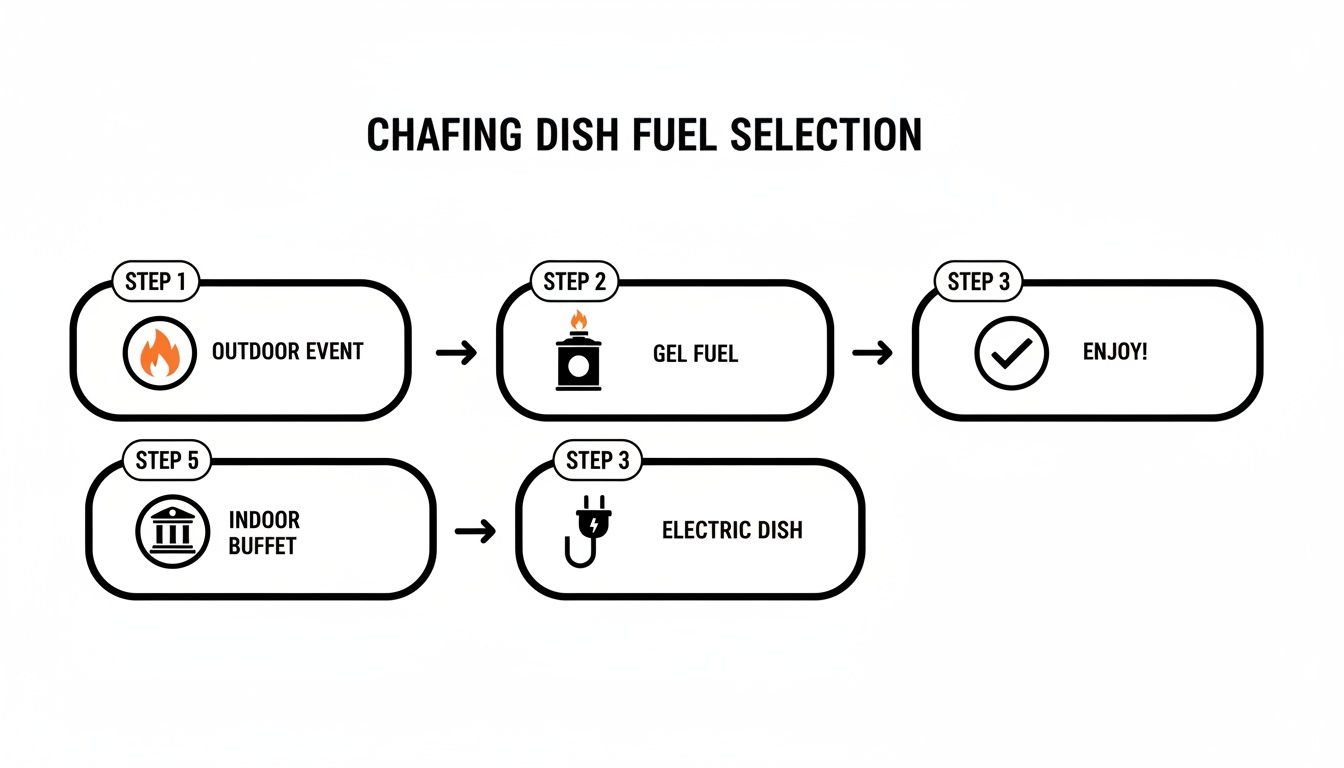
The main takeaway here is to match your heat source to your environment for the best safety and performance. To make sure your chafing dish integrates perfectly with everything else, a solid plan is a must. Consulting an event planning checklist can help you account for all those little details, from power source availability to the buffet table layout.
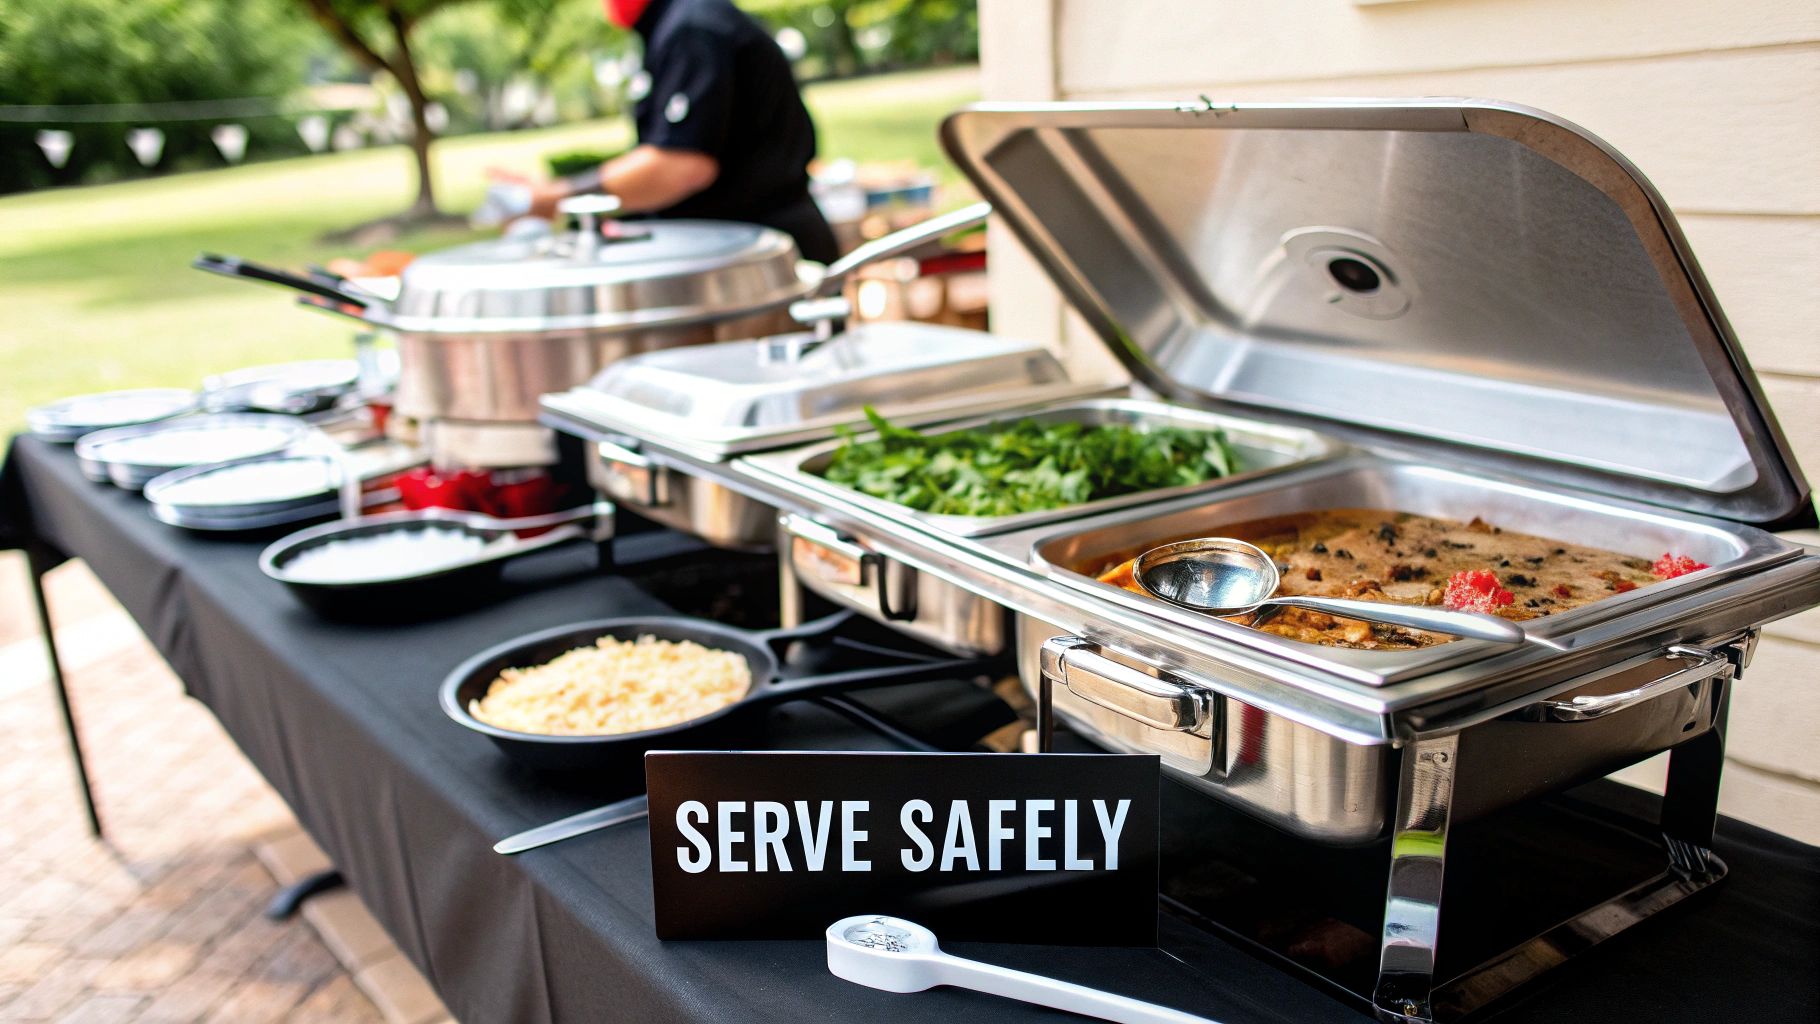
Serving Food with Safety and Style
Once your chafing dishes are set up and humming along, the real work begins: the art and science of serving. Managing a buffet line at your pizzeria is about more than just slinging hot food. It's about maintaining quality, guaranteeing safety, and making your menu look as incredible as it tastes.
Here's the first rule I learned the hard way: don't overcrowd the food pan. It’s tempting to pile it high to avoid refilling, but it makes it tough for guests to serve themselves without making a mess and, more importantly, leads to uneven heating. For saucy dishes like your famous meatballs or a deep pan of baked ziti, a quick stir every now and then is non-negotiable. It keeps the heat distributed and stops that unappetizing crust from forming on top.
Maintaining Quality During Service
Refilling a chafing dish mid-service without a massive temperature drop is a skill every caterer needs to master. The pro move is to have a backup food pan hot and ready in the kitchen. When the pan on the line gets low, you just do a quick swap. It's a seamless transition that minimizes heat loss and keeps the line moving.
For off-site events, getting that hot food from your kitchen to the venue is a critical step. A dedicated insulated food pan carrier is the industry standard for a reason—it locks in that heat and ensures your food arrives at a safe, servable temperature.
Presentation is just as important. Little touches can elevate the whole experience:
- Garnish right in the pan: A last-minute sprinkle of fresh parsley on pasta or a dusting of parmesan on meatballs adds a pop of color that screams "fresh."
- Keep it spotless: Wipe up drips and spills around the chafing dish immediately. A clean serving area looks professional and inviting.
- Use the right tools: Each dish needs its own long-handled spoon or tongs. It’s a simple way to prevent cross-contamination and make serving easier for guests.
Beyond just safety, you want your food to look amazing. There's a whole science to making food look irresistible on camera, and many of those same principles apply to a buffet line.
The Foundation of Food Safety
Let's get serious for a moment, because this is the most important part of using a chafing dish. Your number one job is to keep hot food hot—specifically, above 140°F. This keeps it out of the temperature "danger zone" (40°F to 140°F), which is where bacteria have a field day.
Do not guess when it comes to temperature. Use a calibrated food thermometer and check the internal temp of the food in every chafing dish at least once an hour. This simple habit is your single best defense against making someone sick.
This laser focus on temperature control is actually driving some cool innovations. The global chafing dish market was valued at $4.5 billion and is projected to keep growing, largely thanks to better electric models. We're seeing large-capacity models over 8 quarts become standard for big events, and energy-efficient electric units under 800W saw a 29% demand spike from commercial buyers. By pairing diligent temperature checks with smart presentation, you ensure every dish you serve is safe, delicious, and looks fantastic.
Cleaning and Storing Your Equipment Correctly
Once the last guest has been served, the real work begins: cleanup and maintenance. Getting this right isn't just about hygiene; it’s about protecting your investment and making sure your gear is ready to go for the next service. For a pizzeria, where acidic tomato sauce is a constant, this step is absolutely critical for keeping your stainless steel chafing dishes in top shape.
First thing’s first: safety. Never, ever try to move or clean a chafing dish while the fuel is still lit. It's a recipe for disaster. Grab a snuffer cap to safely extinguish the flame, then give the canister plenty of time to cool down completely before you even think about touching it. Once it's cool, you can get rid of the empty canisters based on your local regulations.
Tackling Tough Pizzeria Messes
We’ve all been there. Baked-on marinara sauce or cheese can feel like it’s permanently welded to stainless steel. The biggest mistake people make is reaching for an abrasive scrubber like steel wool, which will absolutely ruin the finish with scratches.
The secret is patience. Let the food pan soak in hot, soapy water to loosen up the worst of the mess.
For those really stubborn spots, a simple paste of baking soda and a bit of water works wonders. Slather it on the problem area, let it sit for about 15 minutes, and then gently scrub with a soft-bristled brush or a non-abrasive sponge. This technique lifts the stain without damaging the steel. After that, just wash the food pan, water pan, and lid with warm, soapy water.
Expert Tip: After washing, always dry every component completely with a soft cloth. Letting them air-dry is a surefire way to get water spots and streaks, which just looks unprofessional on the buffet line. A quick wipe-down keeps them looking brand new.
Smart Storage for Longevity
Cleaning is only half the battle; how you store your chafing dishes is just as important. A dented water pan or a bent frame can take a chafer out of commission for good. After you’ve dried all the parts, reassemble the unit. It’s the best way to keep everything together.
If you have stackable models, stick a thin layer of foam or even just a soft cloth between each unit. This small step prevents the scratches and dings that happen when they're shuffled around in storage.
Treat your chafing dishes like any other piece of critical kitchen equipment, just like your pizza prep table. Storing them in a designated, dry, and organized spot keeps them from getting banged up in the daily chaos of the kitchen. This little bit of effort ensures they stay in top condition, always ready to make your food look flawless. For a deeper dive into keeping your whole kitchen spotless, check out our guide on essential cleaning supplies for restaurants.
Got Questions About Chafing Dishes? We've Got Answers.
Even the most buttoned-up setup can hit a snag during a busy service. For pizzeria owners and caterers on the front lines, getting fast, no-nonsense answers is the key to keeping the buffet line moving and the food perfect. Here are the solutions to the most common issues you'll run into.
How Long Does Chafing Fuel Last?
This isn't a one-size-fits-all answer—chafing fuel is actually designed for specific service lengths. You'll find that standard canisters last anywhere from 2 to 6 hours, and the burn time is always printed right on the label.
If you're catering an all-day graduation party where the baked ziti needs to stay hot for hours, grabbing a 4- or 6-hour fuel is the smart move. But for a quick two-hour lunch rush at your pizzeria's buffet, a 2-hour canister is way more economical and cuts down on waste.
- Gel Fuels are workhorses, known for giving off a really consistent, steady heat.
- Wick Fuels are often seen as a safer bet with less odor, which is a huge plus for indoor events.
The real pro move is to match the fuel's lifespan to your service time. It’s a small detail that saves you money and spares you the headache of swapping out a can mid-service.
Can I Heat Cold Food in a Chafing Dish?
Let's be crystal clear on this one: absolutely not. This is a critical food safety rule that has no gray area. A chafing dish is a holding device, not a slow cooker. Its only job is to keep food that's already hot at a safe serving temperature.
Trying to heat up cold meatballs or a pan of lasagna directly in the chafer is a recipe for disaster. This lets the food hang out in the temperature "danger zone" (40°F - 140°F) for way too long, which is a perfect invitation for harmful bacteria to throw a party.
Always, always bring your food up to its proper internal temp—at least 165°F—in a real oven or on the stovetop before it ever sees the inside of a chafing dish. This ensures it starts hot, stays hot, and keeps everyone safe.
What Is the Biggest Mistake to Avoid?
The single most common—and most frustrating—mistake is forgetting to add water to the water pan. It sounds almost too simple, but in the chaos of setting up an event, it gets overlooked all the time.
That water creates a gentle steam bath, a classic bain-marie, which is the secret to even, consistent heat. Without it, the direct flame from the fuel canister will scorch the bottom of your food pan. You'll end up with burnt food and a cleaning nightmare.
Always add about one inch of hot water to the pan before you even think about lighting the fuel. Make this a non-negotiable step in your setup checklist, and you'll save countless dishes from being ruined.
How Do I Stop Lid Condensation from Ruining Food?
Nothing's worse than watching condensation from the lid turn your crispy garlic knots soggy or water down a perfect marinara sauce. Luckily, there's a simple technique to prevent this.
Whenever you lift the lid, tilt it away from the food. This little trick lets all the collected water droplets run back down into the water pan where they belong, not all over your food. Many modern roll-top chafers are even designed with little channels that do this for you automatically.
For dishes where moisture is the ultimate enemy—think fried calamari or breaded chicken cutlets—you can crack the lid just a tiny bit to let steam escape. Just keep in mind this will make the food lose heat a bit faster, so you’ll need to check the temperature more often to make sure it stays in the safe zone.
At Pizza Prep Table, we know that every piece of equipment in your kitchen, from the main prep station to the serving line, plays a vital role in your success. Find the perfect equipment to complement your chafing dish setup and keep your entire menu looking and tasting its best at https://pizzapreptable.com.