

how to keep pizza dough fresh: pro tips for your pizzeria
If you want to know how to keep pizza dough fresh in a professional kitchen, you need to think beyond simple refrigeration. The real secret to a superior crust—the kind that builds a loyal customer base—is mastering cold fermentation. This is the technique that lets the yeast work its magic slowly in your walk-in cooler, transforming a basic dough into the star of your menu.
The Secret to Great Dough: Cold Fermentation
Forget just "refrigerating dough." Any serious pizzeria knows the real magic happens during cold fermentation. This is the professional technique that develops the deep flavor, perfect chew, and digestible structure that defines a truly great pizza crust.
This isn't just about storage; it's an active, flavor-building process. When you chill the dough in your pizza prep table or walk-in, you're not stopping fermentation—you're just slowing it way down. This extended time gives the yeast and enzymes a chance to break down complex starches and proteins in the flour.
The result is a dough that’s not only easier to digest but also packed with complex, nuanced flavors a quick room-temperature proof could never hope to achieve. It’s what separates a forgettable crust from one that brings customers back again and again.
The Science Behind the Chill
The sweet spot for cold fermentation is a very specific temperature window: 38-40°F (3-4°C). This range is critical because it dramatically slows the yeast's production of carbon dioxide (the gas that makes dough rise) while allowing other flavor-producing chemical reactions to continue at a snail's pace.
Think of it this way: a fast, warm fermentation is a sprint, but cold fermentation is a marathon. The slow, controlled environment prevents the dough from over-proofing and developing a sour, alcoholic taste. Instead, it builds a deep, slightly sweet, and wonderfully aromatic character. Getting temperatures right is non-negotiable in a professional kitchen, a topic we cover in our guide to temperature control for food safety.
Cold fermentation is the single most important step for developing a signature crust. It's not about keeping dough fresh; it's about making it better with every hour it rests in the cooler.
This process has become so fundamental to modern pizza making that it's driving major market trends. The global demand for refrigerated pizza dough is booming, a clear sign that both commercial kitchens and home cooks are embracing longer-lasting, higher-quality dough. This growth is supported by innovations in packaging and preservation that help restaurants streamline prep and cut down on waste. You can find more insights on the refrigerated pizza dough market on dataintelo.com.
Fine-Tuning Your Fermentation Timeline
The great thing is, you have complete control over this process. By tweaking a couple of key variables, you can dial in a fermentation schedule that fits your kitchen's workflow perfectly. The two biggest levers you can pull are hydration and yeast.
- Hydration Level: Doughs with more water (higher hydration) ferment faster. If you’re planning a longer ferment—say, 72 hours—you might want to slightly reduce the water content to keep things from moving too quickly.
- Yeast Amount: This is your most direct control. For a standard 24-hour cold ferment, you'll use a normal amount of yeast. But if you're pushing it to 48 or 72 hours, you'll want to cut the yeast back significantly, sometimes by as much as half.
Playing with these variables lets you build a dough management system that works for your restaurant. You can make dough on Monday that will be at its absolute peak for Wednesday's dinner service, ensuring perfect consistency day in and day out. This strategic approach to keeping pizza dough fresh is what separates the pros from the amateurs.
Your Prep Table Workflow From Cooler to Service
Even the best-fermented dough can be ruined by a chaotic service. The real secret to consistent, high-quality pizza isn't just in the recipe—it's in the methodical workflow that gets that dough from your walk-in cooler to the pizza prep table without a hitch. This is what separates professional pizzerias from the rest.
First things first: ditch the flimsy, inefficient storage methods. For any serious pizza restaurant, professional dough boxes are a must-have. These airtight, stackable containers are your best defense against the dreaded dough skin—that dry, tough layer that forms when dough gets exposed to air and makes it impossible to stretch.
Establishing a Flawless FIFO System
The single most important part of your dough workflow is a rock-solid First-In, First-Out (FIFO) system. It’s a simple concept: the oldest dough, the batch that has hit its flavor and texture peak from cold fermentation, always gets used first. Skipping this leads to inconsistent crusts, customer complaints, and wasted product.
Putting FIFO into practice is easy, but it demands discipline from everyone in the kitchen. Here’s a no-nonsense way to manage it:
- Color-Code Everything: Use different colored day-of-the-week stickers on each dough box. Monday's dough gets a blue sticker, Tuesday's gets green, and so on. It’s a visual cue that’s impossible to miss during a busy service.
- Label Like a Pro: Every single box needs a "Date Made" and a "Use By" date. A 72-hour cold ferment dough made on Monday should be clearly marked for use on Thursday. No exceptions.
- Organize Your Walk-In: Stack the dough boxes chronologically. Newest dough goes to the back, and the oldest, ready-to-use dough gets moved to the front where it’s easy to grab during a rush.
This diagram breaks down the key stages of managing your dough right up to service, highlighting how ingredient quality, temperature, and time all have to work together in a restaurant setting.
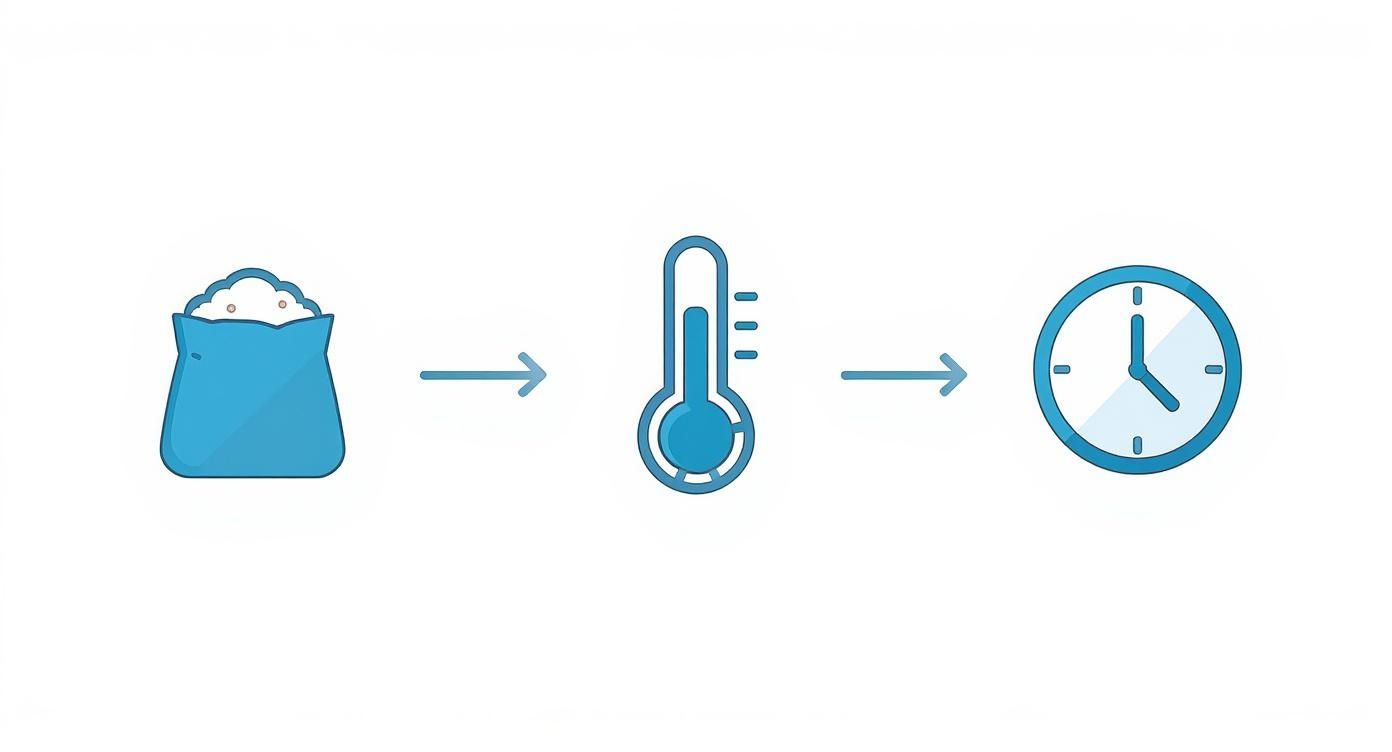
Think of it this way: precise control over your fermentation time and holding temperature is the foundation of your entire workflow. Get that wrong, and everything else falls apart.
Optimizing Your Pizza Prep Table Area
Your pizza prep table is the final checkpoint before that dough becomes a finished pizza. But this busy area brings its own set of challenges, especially when it comes to temperature. The constant opening and closing of a walk-in door can wreak havoc on your carefully fermented dough.
A dedicated pizza prep table with built-in refrigeration is a game-changer. It keeps a small supply of dough at the perfect holding temp right on the line, cuts down on trips to the walk-in, and protects the rest of your inventory from temperature swings.
This isn’t just about convenience; it’s a strategic move that keeps your process tight. You pull just enough dough for the next hour or so, keeping it right where you need it without putting the whole day's batch at risk. You can learn more about picking the right gear in our guide to choosing a https://pizzapreptable.com/blogs/pizza/commercial-pizza-prep-table.
To get a broader perspective on managing kitchen logistics, looking into full-service restaurant operational solutions can provide valuable frameworks. These systems offer insights that can be adapted to streamline everything from your inventory to your prep line efficiency.
By dialing in your workflow with professional tools like dough boxes, a strict FIFO system, and a high-quality pizza prep table, you ensure every pizza you sell is built on a foundation of perfectly fresh, expertly managed dough. That’s the kind of control that builds a reputation for consistency.
Freezing Dough Without Sacrificing Quality
For a busy pizzeria, freezing dough shouldn’t be a last resort—it should be a strategic advantage. When you do it right, it's a powerful tool for managing inventory, slashing waste, and making sure you never run out of quality dough during an unexpected rush. The real secret is protecting the dough’s delicate gluten structure and yeast activity from the harsh freezer environment.
The professional method for freezing pizza dough is all about locking in freshness so that it thaws perfectly, every single time. This process is way more nuanced than just tossing a tray in the freezer. It involves carefully prepping each dough ball to shield it from freezer burn, which happens when moisture escapes and the surface oxidizes. That will permanently wreck the dough's texture and flavor.

This approach is so effective it’s reshaped the entire industry. Frozen pizza dough now leads the global dough market because of its long shelf life and storage efficiency. Stored correctly at -18°C (0°F), your frozen dough balls can maintain their quality for up to 3 months. That’s a reliable solution for any kitchen focused on consistency and waste reduction.
Preparing Dough for the Deep Freeze
First things first: treat each dough ball individually. After balling, give each one a very light coating of a neutral oil, like canola or a light olive oil. This thin layer acts as a protective barrier, stopping the dough from drying out and forming that tough, unpleasant skin.
Next, wrap each oiled ball tightly in plastic wrap. The goal here is an airtight seal, leaving zero part of the dough exposed to the air. For an extra layer of protection—which I always recommend—you can then place the individually wrapped balls into a larger freezer-safe bag or an airtight container.
The most common mistake is improper wrapping. Any air left between the dough and the wrap is an opportunity for ice crystals to form and freezer burn to set in, which will absolutely ruin the final crust.
Proper equipment is non-negotiable for this. To truly master preserving your dough long-term, especially when you're aiming for quality, consider consulting an ultimate chest freezer guide. High-quality freezers maintain consistent temperatures, which is vital. You can find more info on picking the right gear in our breakdown of https://pizzapreptable.com/blogs/pizza/commercial-kitchen-freezers.
The Importance of Flash-Freezing
Once wrapped, it’s time to freeze—but how you freeze matters immensely. The goal is to freeze the dough as quickly as possible. We call this flash-freezing. This technique prevents the formation of large, jagged ice crystals that can pierce and shred the dough's gluten network.
To flash-freeze like a pro:
- Place the individually wrapped dough balls on a sheet pan.
- Make sure they aren't touching. You want cold air to circulate freely around each one.
- Stick the pan in the coldest part of your freezer until the dough is frozen solid. This usually takes a few hours.
After they are completely frozen, you can transfer the solid dough balls into a larger, more compact container for long-term storage. That initial quick freeze is what keeps the internal ice crystals small and less damaging, preserving the dough's texture for later.
Thawing for Perfect Performance
The final, and equally critical, step is the thawing process. Whatever you do, never thaw frozen dough at room temperature. This shocks the yeast and causes the outside to over-proof while the inside is still a frozen rock, leading to a gummy, inconsistent crust.
The correct method is a slow, controlled thaw. Move the frozen dough balls from the freezer to your walk-in cooler or a refrigerator set to your cold fermentation temp (38-40°F or 3-4°C). This gentle process allows the dough to thaw evenly over 12-24 hours, reactivating the yeast slowly and preserving the texture you worked so hard to protect.
Once it's thawed, you can treat it just like your fresh dough—ready to be proofed and stretched for service.
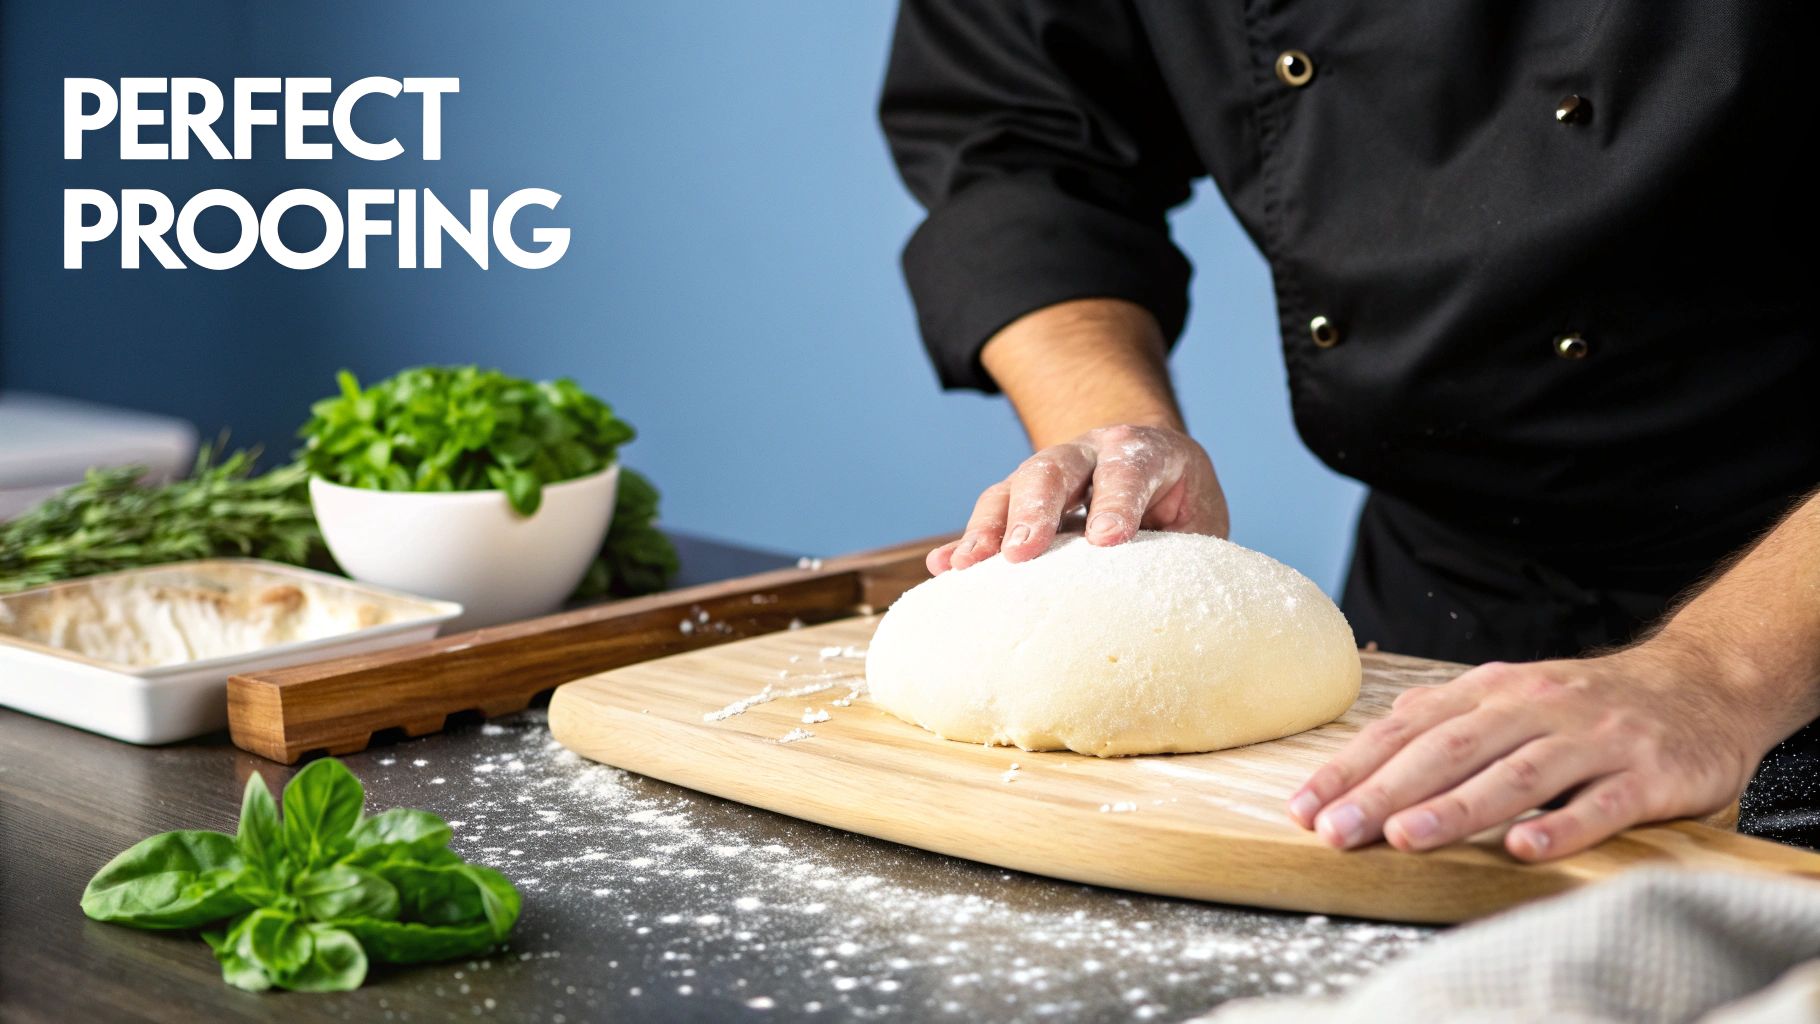
Proofing Dough for the Perfect Bake
Even a perfectly fermented dough can fall flat if it isn't proofed correctly right before service. This final step, often called the final rise, is where your cold-fermented dough wakes up and gets ready for the blast furnace of a pizza oven. Honestly, mastering this stage is just as critical as the fermentation itself if you want that light, airy, and beautifully structured crust your customers crave.
Proofing is really just a controlled, room-temperature rest on your pizza prep table. After pulling dough from the cooler, it needs time to warm up. This lets the yeast get active again and produce one last burst of CO2, inflating the gluten network and creating that delicate interior crumb. It’s what gives the crust the strength to hold up to toppings without collapsing.
How to Read the Dough
The biggest challenge here isn't watching the clock; it's learning to read the dough through sight and touch. Under-proofed dough makes for a dense, tough crust. Over-proofed dough gets fragile, is a nightmare to stretch, and often collapses in the oven, leaving you with a flat, cracker-like pizza.
Here’s what professional pizzaiolos look for to know a dough ball is perfectly proofed and ready to go:
- Visual Cues: You'll start to see small bubbles forming just under the surface. The dough should look visibly puffier and will have grown by about 1.5 times its original size—it doesn't need to double.
- Tactile Feedback: It should feel soft, airy, and full of life when you handle it. It will be slightly tacky but shouldn't feel overly sticky or wet.
- The Poke Test: This is the most reliable trick in the book. Gently press a fingertip into the dough. If the dent springs back instantly, it needs more time. If it springs back slowly and leaves a slight indent, it's perfect. If the indentation stays put completely, you've likely gone too far.
Managing Proofing During a Hectic Service
Keeping dough at its peak during a chaotic dinner rush is where many kitchens stumble. The biggest mistake is pulling too much dough from the cooler at once. A warm kitchen can quickly over-proof an entire tray, leaving you with a product that's incredibly difficult to work with.
The best practice is to stage your dough in small, manageable batches. Only pull enough from the cooler for the next 30-60 minutes of service and let it proof on or near your pizza prep table. This creates a steady, continuous supply without risking the whole batch.
This "just-in-time" approach ensures every pizza starts with a dough ball at its absolute peak. It takes a bit more active management, but the payoff in crust quality is massive.
Common Proofing Problems and Solutions
Even seasoned pros run into proofing issues. Here’s how to troubleshoot two of the most common headaches on your prep line:
1. The Dough Feels Sluggish and Dense
This almost always means the dough is under-proofed. It simply hasn't had enough time at room temperature for the yeast to wake up. The fix is easy: give it more time. If your kitchen is on the colder side, find a slightly warmer spot—like near the oven, but not directly on it—to give it a little nudge.
2. The Dough Collapses When Stretched
This is the classic sign of over-proofing. The gluten network has been stretched to its limit and has lost its structural integrity. Unfortunately, there’s no going back from this. The best you can do is handle the dough extremely gently and maybe use it for something like focaccia or staff meals where a perfect circle isn't the goal.
Ultimately, consistent proofing is a cornerstone of learning how to keep pizza dough fresh and ready for service. It’s the final touch that transforms a great fermented product into the foundation for an unforgettable pizza.
Solving Common Dough Storage Issues
Every pizzeria chef has seen it—a tray of perfectly fermented dough completely ruined by a simple storage mistake. When the dinner rush is on, there's absolutely no time for guesswork. This is your emergency guide for diagnosing and fixing the most common dough headaches right on your pizza prep table, ensuring every pizza starts with the best foundation possible.
These problems are rarely about a bad recipe. Almost always, they stem from an issue in your storage process or environment. A fluctuating walk-in cooler or an improperly sealed dough box can undo hours of careful fermentation. Let's break down what’s happening and give you immediate fixes to save your service.
Tackling Dough Skin Formation
The most frequent and frustrating issue is the formation of dough skin. You know what I'm talking about—that tough, dry, leathery layer that forms on the surface of a dough ball. It’s caused by one thing and one thing only: exposure to air. This dry layer refuses to stretch, tears easily, and bakes into a dense, unpleasant crust.
The cause is usually straightforward. Your containers aren't airtight. Perhaps the lids on your dough boxes are cracked, or someone left a box slightly ajar in the walk-in. Even the constant airflow from a cooler's fan can be enough to dry out dough that isn't completely sealed.
- The Immediate Fix: If you catch it early and the skin is very thin, you can try lightly misting the dough ball with water and letting it rest covered for a few minutes. For more severe cases, your only real option is to gently work the skin into the center of the ball when re-shaping, though this can create an inconsistent texture in the final bake.
- The Long-Term Solution: Invest in high-quality, professional dough boxes with tight-fitting lids. Enforce a strict kitchen rule that every box must be sealed immediately. This simple discipline is the most effective way to keep your pizza dough fresh and prevent waste.
When Dough Becomes Over-Fermented
You pull a dough box from the cooler and find the dough balls have collapsed into a soupy, slack mess. They smell overly alcoholic or sour and are impossible to handle. This is classic over-fermentation, where the yeast has eaten all the available food and the gluten structure has completely broken down.
This happens for two main reasons: your cooler is too warm, or the dough was left in there for too long. A cooler temperature above 40°F (4°C) can speed up fermentation dramatically, ruining a 72-hour dough in less than 48 hours.
The sour smell is a major red flag. It's the unmistakable scent of yeast producing excess alcohol and organic acids after consuming all the sugars. At this point, the dough's flavor and structure are permanently compromised.
Unfortunately, once dough is severely over-fermented, there is no saving it for pizza. The gluten is shot. The best you can do is repurpose it for something like focaccia or breadsticks, where its slack nature is less of a problem. The real key here is prevention: regularly check your cooler's thermostat and stick to a disciplined FIFO (First-In, First-Out) system so dough is always used at its peak.
Preventing and Managing Freezer Burn
Freezer burn is the ultimate texture-killer for frozen dough. It shows up as dry, discolored patches on the dough’s surface and is caused by moisture loss and oxidation. Ice crystals form and then turn directly into gas, leaving the dough dehydrated and giving it a tough, cardboard-like quality when baked.
This issue is almost always a result of improper wrapping. If the dough isn't sealed in a totally airtight environment, the dry freezer air will pull moisture directly from it. A fluctuating freezer temperature, often from a door being left open too long, will accelerate this process significantly.
To combat this, each dough ball must be lightly oiled and then wrapped tightly in multiple layers of plastic wrap before being placed in a freezer bag. This double barrier is your best defense. If you find dough with minor freezer burn, you can sometimes salvage it by trimming away the affected spots before thawing, but just know the final quality will be noticeably lower.
No matter how experienced you are, dough problems happen. Being able to quickly diagnose what went wrong is a critical skill in any busy pizzeria. Here's a quick chart to help you troubleshoot on the fly.
Pizza Dough Troubleshooting Guide
| The Problem | What's Causing It | How to Fix It Now |
|---|---|---|
| Tough, Leathery Skin | Dough balls were exposed to air in the cooler. Containers aren't airtight or were left open. | Lightly mist with water and let rest if minor. Otherwise, knead the skin into the center before shaping. |
| Soupy, Collapsed Dough | Over-fermentation. Your cooler is too warm (above 40°F), or the dough was stored for too long. | Can't be saved for pizza. Repurpose for focaccia or discard. Check cooler temps and enforce FIFO. |
| Dry, Discolored Patches | Freezer burn from improper wrapping. The dough was exposed to the dry freezer air. | Trim off the affected spots before thawing. For future use, double-wrap oiled dough balls tightly. |
| Dough Is Too Stiff | It's likely too cold straight from the cooler, or the hydration is too low for your flour. | Let it temper at room temperature for 30-60 minutes longer. Check your recipe's hydration percentage. |
| Dough Tears Easily | Under-kneaded dough with poor gluten development, or it's over-proofed and the gluten is breaking down. | If under-kneaded, give it another few minutes in the mixer. If over-proofed, it's likely unsalvageable. |
Keeping this guide handy can help turn a potential crisis into a manageable problem. The best solution, of course, is always prevention through disciplined processes and regular equipment checks.
Common Questions About Dough Management
Even when you think you have your dough process dialed in, questions always pop up during a chaotic service. In a real pizzeria, knowing the answers on the fly is what separates a smooth shift from a total train wreck. Here are some straight answers to the dough challenges we see on the prep line every single day.
Can I Use Dough Straight From The Walk-In Cooler?
You can, but your pizza will pay the price. Cold dough is a nightmare to work with—it’s stiff, fights back when you try to stretch it, and tears easily. When you force it into shape, you’re basically wrecking the delicate gluten structure you spent days building. The result? A dense, tough crust that bakes unevenly.
To get that beautiful oven spring and light, airy texture, your dough needs time to temper at room temperature. Give it about 30 to 60 minutes on the pizza prep table after pulling it from the cooler. This lets the gluten relax and wakes the yeast back up, making all the difference in your final product.
Think of it like a quick warm-up for an athlete. A cold muscle is tight and prone to injury; a cold dough is stiff and prone to tearing. That final proof on the prep table is essential for peak performance.
How Long Can Dough Realistically Last In The Cooler?
Honestly, this all comes down to your recipe and the exact temperature of your walk-in. For a standard cold-fermented dough held consistently at 38-40°F (3-4°C), you’re looking at a peak window of about 72 hours. Some restaurants might push it to five days, but you’ll start to notice a much stronger sour flavor from the extended fermentation.
After that three-day mark, the yeast starts running out of food and the gluten network begins to break down. The dough can get slack, overly acidic, and just plain difficult to handle. For the most consistent results, stick to a three-day cycle. It’s the professional standard for a reason.
What Is The Ideal Dough Temperature For Stretching?
The sweet spot for the dough itself—not just the ambient room temperature—is right around 60-65°F (15-18°C). At this point, the gluten is relaxed and extensible enough to stretch beautifully without fighting you, but the dough is still cool enough to be manageable and not overly sticky.
I've seen top-tier pizzerias use an infrared thermometer to spot-check their dough balls on the prep line. It’s a great way to ensure consistency, especially on really hot or cold days when the kitchen temp can throw off your timing. This kind of precision is a huge part of knowing how to keep pizza dough fresh and ready for every order, and a well-managed pizza prep table is at the center of it all.
Ready to optimize your kitchen's workflow and ensure every pizza starts with perfectly managed dough? Pizza Prep Table offers a wide selection of commercial-grade refrigerated prep tables designed to maintain precise temperatures and keep your ingredients fresh. Explore our models and find the perfect fit for your pizzeria at https://pizzapreptable.com.